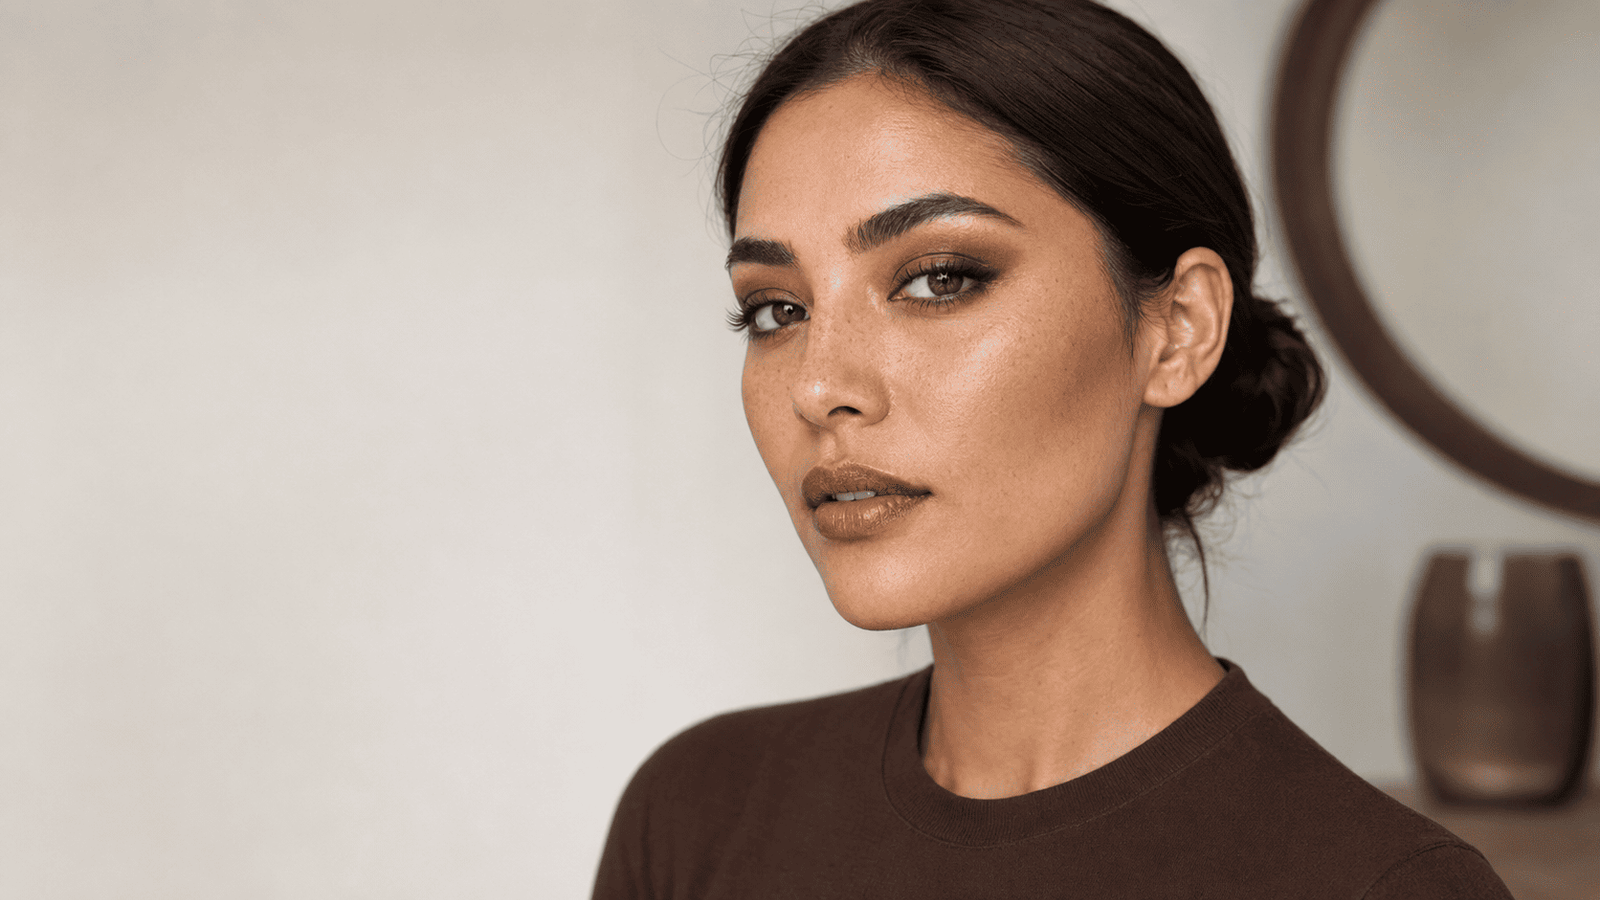
Espresso makeup can look polished and expensive—or leave your whole face looking flat and muddy. The difference isn’t how much brown makeup you use. It’s how you vary the depth, undertone, and finish across your eyes, cheeks, and lips.
This Espresso Makeup Tutorial: Rich Brown Eyes, Cheeks and Lips creates a smoky monochromatic look without covering your face in one identical coffee shade. You’ll build dimension with thin layers, keep the complexion fresh, and adjust each brown to suit your skin tone.
Espresso makeup uses deep coffee-brown tones on the eyes, cheeks, and lips. Start with light skin coverage, build a graduated brown smoky eye, add a muted brown-rose cheek color, and finish with defined brown lips. Mixing matte, satin, and glossy finishes prevents the monochromatic palette from looking heavy or dull.
What Makes Espresso Makeup Different From Latte Makeup?
Latte makeup relies on caramel, tan, and soft bronze shades. Espresso makeup moves several steps deeper, using dark chocolate, roasted coffee, cocoa, and near-black brown. It creates more contrast around the eyes and stronger definition around the lips.
That doesn’t mean every part of the face should be equally dark. Espresso makeup works best when one feature leads. If the eyes are deeply smoked, keep the lips sheer or softly blurred. If you want an opaque coffee-brown lip, reduce the darkness around the lower lash line.
The look can also be adapted rather than copied literally. Rich brown eyes and lips suit nearly everyone, but a completely brown cheek can make some complexions appear tired. Adding a little rose, terracotta, berry, or red beneath the brown keeps the face alive.
Choose Browns That Work With Your Undertone
Brown is a broad color family, not one universal shade. Some espresso colors lean red, while others look yellow, gray, purple, or nearly black. The wrong undertone often causes the muddy effect blamed on brown makeup itself.
For fair skin, start with taupe-brown, soft cocoa, and muted rose-brown. Very dark neutral brown can work as eyeliner, but it may be too stark across the entire lid.
Light-to-medium complexions usually handle chestnut, cinnamon-brown, and neutral chocolate well. Olive skin often looks especially balanced in tobacco brown, bronze-brown, and muted terracotta.
Deep complexions can carry saturated espresso, mahogany, blackened chocolate, and red-brown without losing definition. Pale beige-browns may turn ashy, so choose shades with enough pigment and warmth to register clearly.
Good to Know: Test brown makeup on your face, not your wrist. Natural lip color, eyelid depth, and facial redness can change how the same shade appears.
What You’ll Need for This Espresso Makeup Tutorial
You don’t need a special espresso-themed palette. A small group of well-chosen products is enough:
- Lightweight foundation or skin tint
- Concealer close to your skin tone
- Translucent or finely milled setting powder
- Matte medium-brown eyeshadow
- Deep espresso eyeshadow
- Optional bronze, copper, or brown satin shadow
- Dark brown eyeliner
- Mascara
- Neutral bronzer or contour
- Brown-rose, terracotta-brown, or berry-brown blush
- Deep brown lip liner
- Brown nude lipstick, tinted balm, or gloss
A matte bronzer can double as the first eye color if its undertone suits you. Just avoid using a face product near the eyes unless its label confirms that it’s approved for eye-area use.
Espresso Makeup Tutorial: Rich Brown Eyes, Cheeks and Lips Step by Step
1. Keep the Base Light and Skin-Like
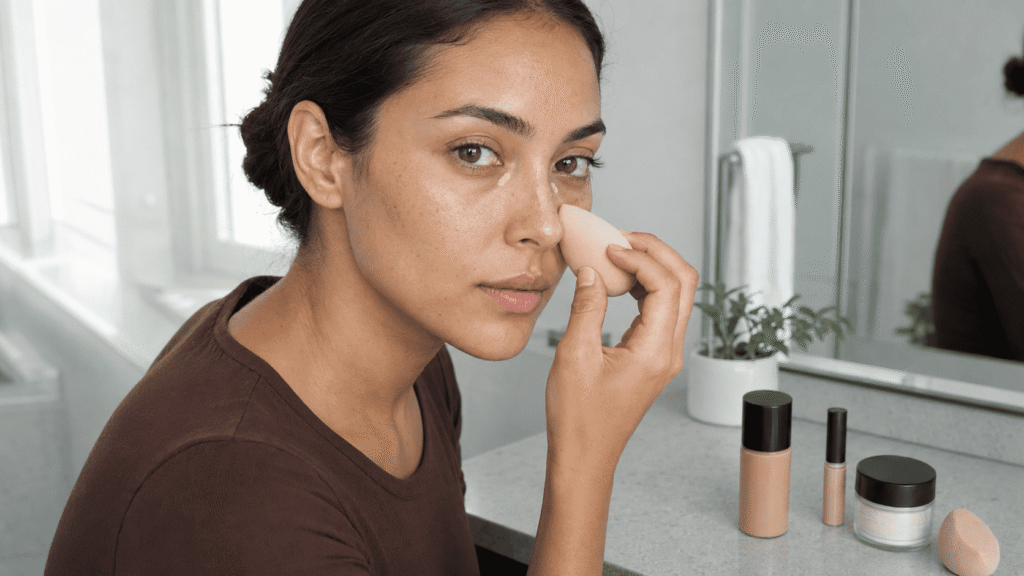
Apply a thin layer of skin tint or foundation from the center of your face outward. Cover redness and uneven patches, but let natural skin texture remain visible. A dense, opaque base paired with dark brown makeup can quickly feel costume-like.
Use concealer only where you need it. Choose one close to your complexion rather than a very pale brightening shade. A sharply white under-eye area breaks the warm continuity of an espresso look and can make the eye makeup appear harsher.
Set the sides of the nose, under-eye creases, and center of the forehead lightly. Leave the outer cheeks more natural so your cheek products can blend without catching on a thick powder layer.
2. Create an Invisible Structure Around the Eyes
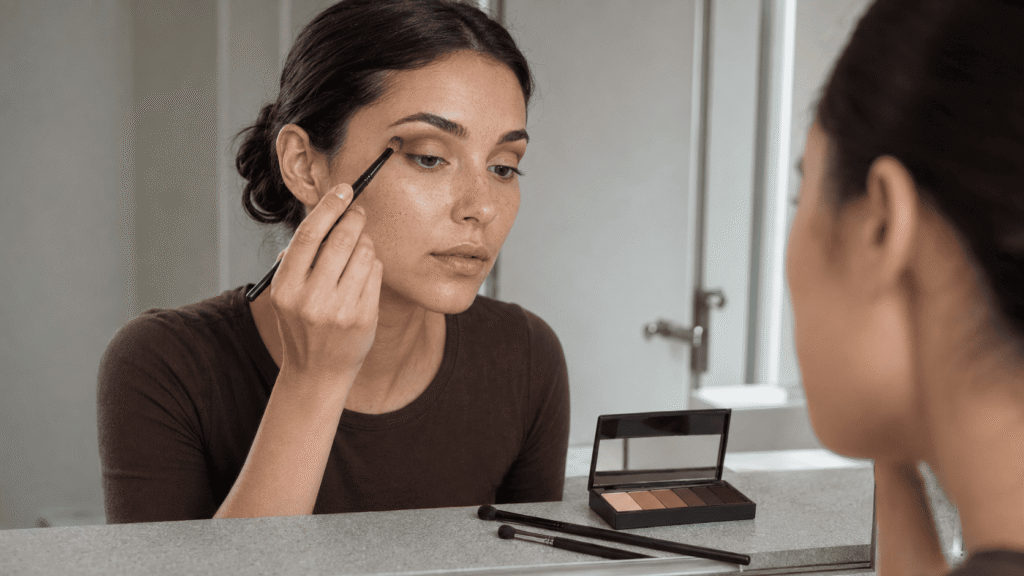
Before reaching for the darkest shadow, sweep a matte medium brown through the crease and slightly above it. This shade should be two or three levels deeper than your skin, not the darkest color in your palette.
Blend it outward toward the tail of your brow, keeping the highest point of the shadow over the outer half of the eye. That placement creates lift. Blending a round halo of brown around the entire eye can make it look smaller or tired.
I used to begin smoky eyes with the darkest shade because it seemed faster. It wasn’t. I spent twice as long trying to soften the edges and usually lost the clean shape.
3. Press Espresso Brown Close to the Lash Line
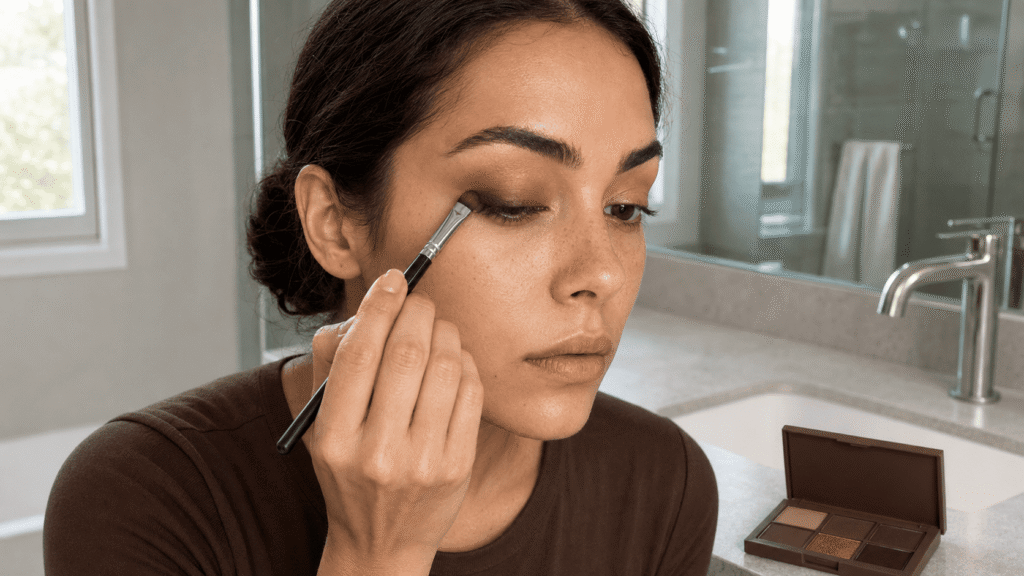
Use a flat brush to press deep espresso shadow along the upper lash line and outer third of the lid. Pat first, then blend the edge with a clean, small brush. Sweeping dark shadow immediately sends pigment too high and creates a gray-brown haze.
Keep the inner third of the lid lighter. You can leave it bare, add medium brown, or tap on a restrained satin bronze. This small shift in depth gives the eye dimension even when every shade belongs to the same brown family.
For hooded eyes, apply the deepest brown while looking straight into a mirror. Keep it visible just above the outer fold instead of burying all the depth inside the crease.
4. Define the Lashes Without a Hard Black Border
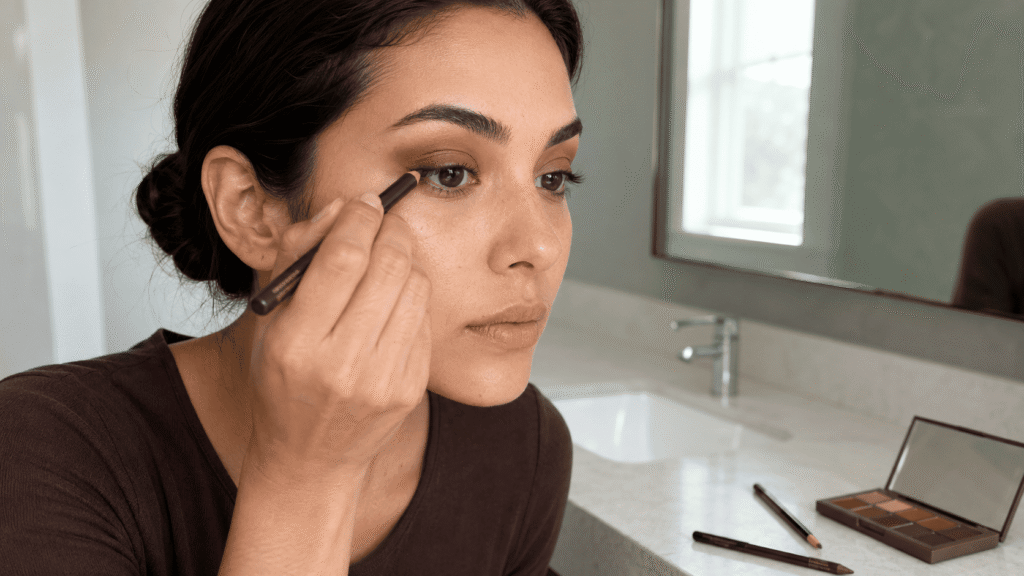
Work a dark brown pencil between the upper lashes, then soften it with espresso shadow. This thickens the lash line while keeping the result warmer and less graphic than liquid black liner.
You can extend the pencil into a short, diffused wing. Follow the direction of the lower lash line rather than pulling the wing sharply upward. A softly elongated shape fits the blurred richness of this look better than a crisp triangle.
If you want more drama, tightline the upper waterline. Skip heavy lower-waterline liner if your eyes are small or deep-set; it can close them in.
Pro Tip: Finish one eye before starting the other when testing depth. It’s easier to judge whether you need another layer when you can compare it with a bare eye.
5. Use Less Brown Under the Eyes Than You Think
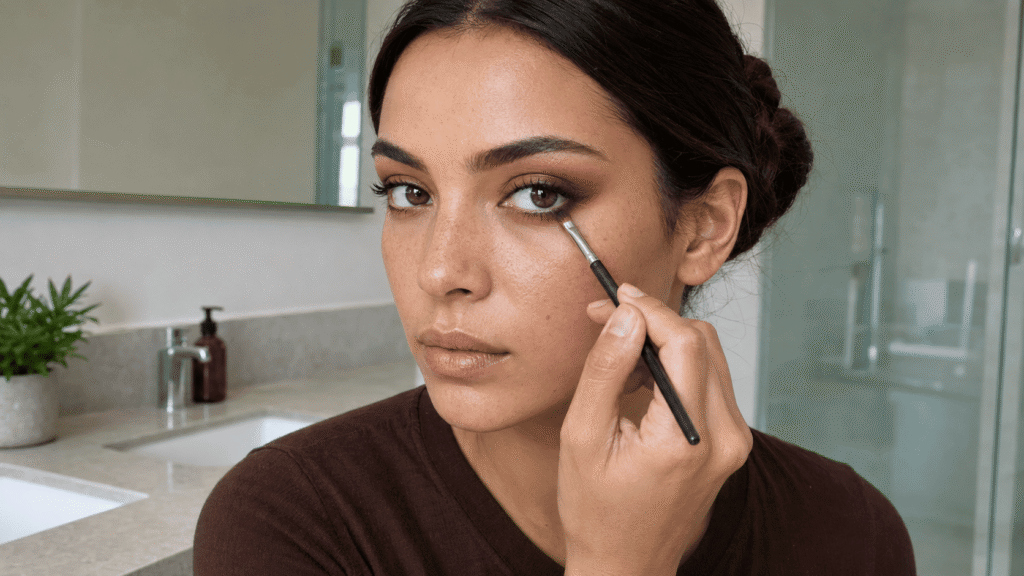
Blend the medium brown along the outer two-thirds of the lower lash line. Add the deep espresso shade only at the outer corner, connecting it softly to the upper shadow.
The lower lash line is where this look most often becomes muddy. Dark pigment mixed with concealer, natural oils, or under-eye texture can turn gray. Use a small brush, tap off excess powder, and keep the inner corner clean.
Finish with mascara focused on the outer lashes. Brown-black mascara gives softer definition, while black mascara creates greater contrast for evening makeup or naturally dark lashes.
6. Shape the Cheeks Without Painting Them Flat Brown
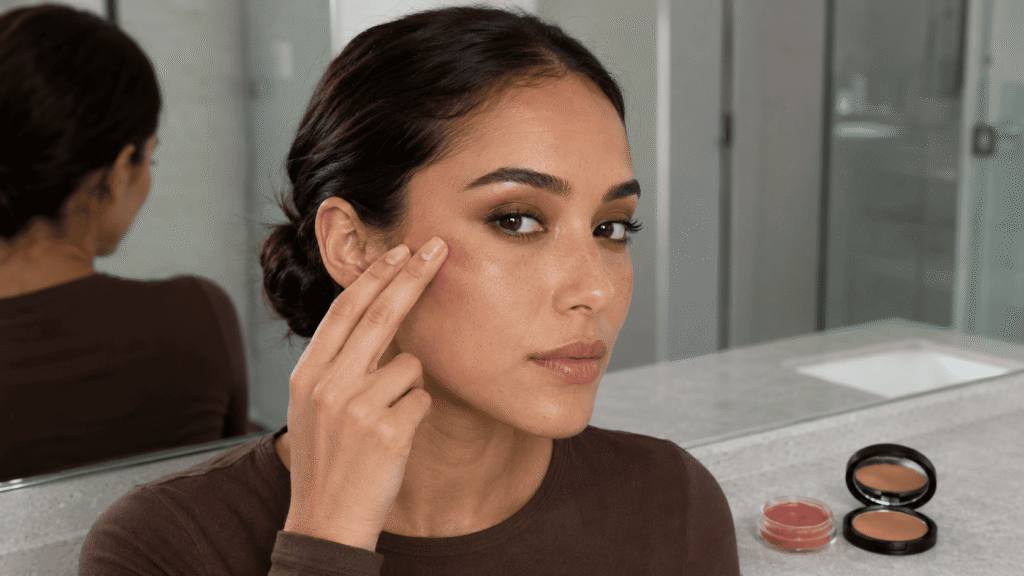
Place a neutral bronzer around the temples and lightly beneath the cheekbones. Keep it higher than traditional contour and blend upward. The goal is warmth and structure, not a visible brown stripe.
Then apply brown-rose, terracotta-brown, or muted berry blush to the upper cheeks. This hidden red or rose undertone matters: skin’s natural flush contains some red, so a purely yellow or gray brown can drain the complexion.
I learned this after trying a trendy cool-brown blush that looked beautiful in the compact. On my face, it resembled a healing bruise. Layering a tiny amount of muted rose underneath fixed it immediately.
Cream blush creates a fresh, flexible finish on dry or mature skin. Powder gives oily skin more control and is easier to build without shifting the base. Either works; the placement and undertone matter more than the formula.
7. Build Rich Brown Lips Without a Harsh Outline
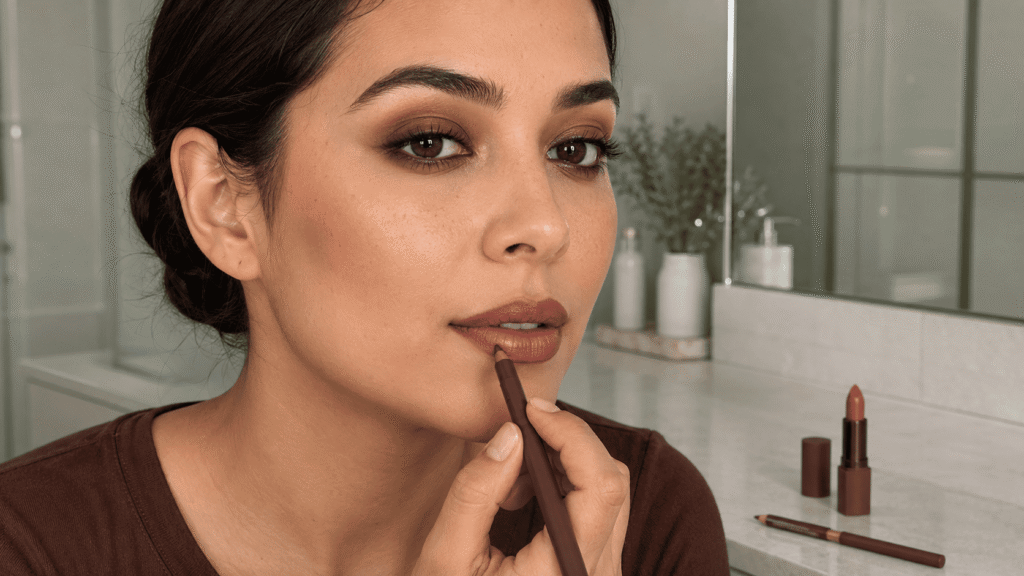
Trace your natural lip shape with a deep brown pencil. Rather than drawing one solid border, use short strokes and shade the liner inward at the corners. Leave the center less saturated.
Apply a brown nude lipstick or tinted balm through the middle, then press your lips together. Blend the meeting point with a small brush or fingertip so the liner fades into the lip color.
For fuller-looking lips, place a slightly lighter caramel-brown or rosy nude at the center. This works because the contrast creates dimension—not because you’ve dramatically overlined the mouth.
Cool dark-brown liner paired with a pale beige center can look dated and disconnected. Keep the two colors within a few levels of each other and make sure they share a compatible undertone.
Watch Out: Deep brown lip products may collect in dry patches. Apply balm while doing your eye makeup, then blot it off before liner. Leaving a slippery balm layer underneath makes the pencil move and fade.
8. Balance the Three Brown Features
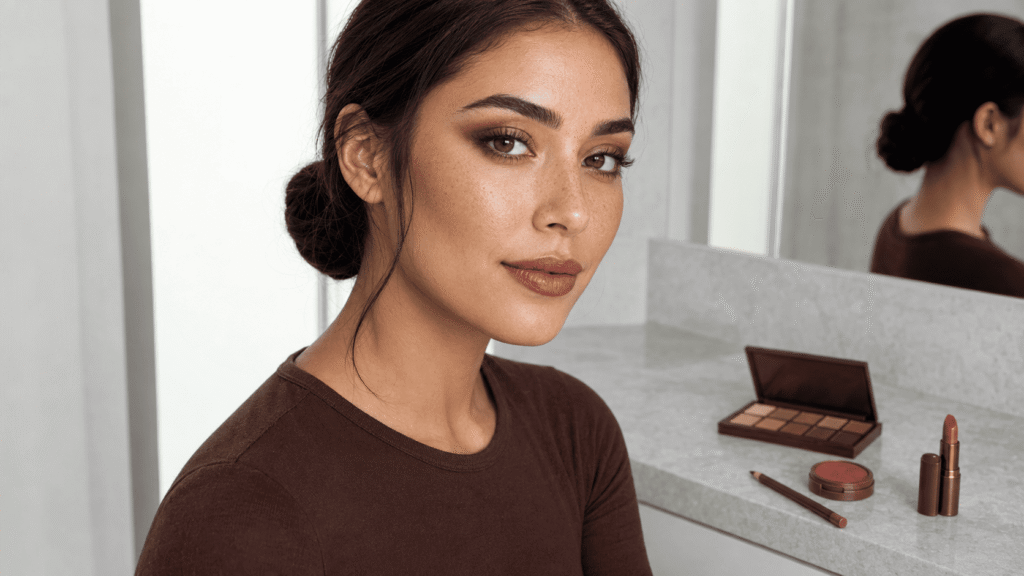
Step away from the mirror before adding more product. From normal conversation distance, check whether your eyes, cheeks, and lips are competing.
If everything looks too dark, don’t cover it with pale powder. Soften the lips with balm, clean the inner eye corners, or tap a skin-toned shadow around the smoky edges. Adding light in specific areas preserves the richness without turning the face gray.
For daytime, choose softly smoky eyes, restrained cheeks, and a sheer brown lip. For a stronger evening version, deepen either the lash line or lipstick—not every section automatically.
How to Stop Espresso Makeup From Looking Muddy
Use separate brushes for your medium and deep shadows. A brush already loaded with espresso pigment will contaminate every transition shade, even if you think you’ve wiped it clean.
Vary your textures as well. Try matte crease shadow, satin on the lid, natural-finish cheeks, and a softly glossy lip. When every surface is dark and matte, facial contours can disappear.
Finally, preserve small areas of clean skin. The inner eye corners, space beneath the brow, center of the lips, and front of the cheeks provide visual relief. Rich makeup needs contrast to look deliberate.
Easy Adjustments for Different Eye Shapes and Skin Types
For round eyes, extend the deepest shadow outward and keep the inner lower lash line bare. Almond eyes can carry an even smoky gradient, though concentrating depth at the outer corners still creates lift.
Deep-set eyes benefit from a medium brown across the visible lid and espresso close to the lashes. Covering the whole lid in a near-black brown can make the eyes recede further.
On oily lids, use a thin eye primer and press shadows on in layers. On dry or textured lids, avoid packing thick matte pigment across the entire surface. A soft satin brown reflects enough light to keep texture from looking overly pronounced.
Mature skin doesn’t need to avoid dark eye makeup. Use smaller brushes, place depth precisely, and choose finely milled satin rather than chunky shimmer. The idea that all mature lids must wear pale matte shadow is overhyped.