
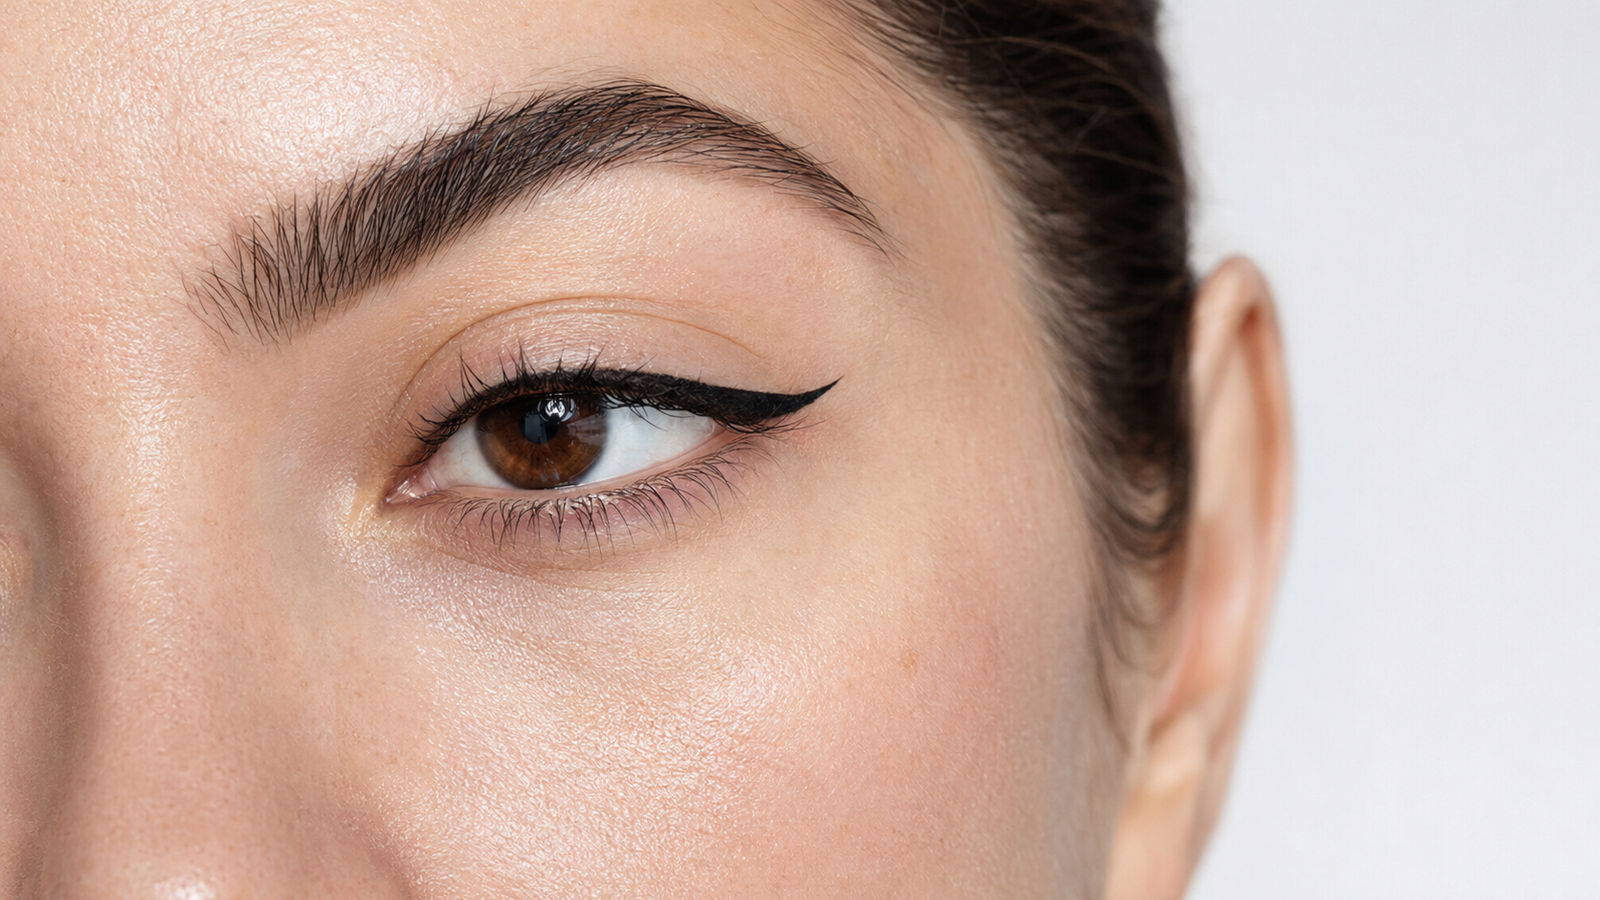
Eyeliner can look crisp when you leave the house and turn into a faded gray crease by lunchtime. When this keeps happening, your application skills aren’t necessarily the problem. Natural skin oil, blinking, skincare residue, and the shape of your eyelids can break down even a liner labeled waterproof.
Learning how to make eyeliner last on oily lids all day comes down to controlling oil in the right places without making the skin dry or uncomfortable. You also need a formula that resists both moisture and sebum, followed by enough drying time between layers. A thick coat of powder and several setting products usually aren’t necessary.
Quick Answer: Begin with clean, dry eyelids and keep rich skincare away from the lash line. Apply a thin layer of matte eye primer, lightly powder the crease or any area that touches your liner, and use a fast-drying waterproof liquid or setting gel formula. Keep your eyes lowered until the liner has dried, then reinforce only the transfer-prone sections with matching matte eyeshadow.
Why Eyeliner Smudges Even When It Says Waterproof
Waterproof and oil-resistant aren’t always the same thing. An eyeliner may hold up against tears, sweat, or humidity but still soften after sitting against natural skin oil for several hours. The waxes and emollients that help pencils and gels glide smoothly can become more mobile as oil builds up.
Friction makes that movement worse. Hooded, deep-set, and monolid eyes often have skin that folds over the upper lash line when the eyes are open. If the eyeliner hasn’t formed a dry, flexible film, every blink gives it another opportunity to transfer onto the skin above it.
Your skincare can create additional slip, even when you don’t apply it directly to the eyelid. Rich eye cream, sunscreen, facial oil, and dewy concealer may travel toward the lash line throughout the day. I spent months blaming different eyeliners before realizing that my creamy concealer was migrating upward and dissolving them.
How to Make Eyeliner Last on Oily Lids All Day
1. Begin With Completely Clean Eyelids
Gently remove leftover makeup, skincare, and surface oil before starting your eye makeup. A cotton pad lightly dampened with micellar water works well, but follow it with a clean, slightly damp pad so cleansing residue doesn’t remain on the skin. Pat your eyelids dry instead of rubbing them.
Avoid alcohol, harsh toner, or a strong facial cleanser around the eyes. These may leave the lids feeling temporarily dry, but they can also cause irritation, tightness, and watering. The goal is to create a clean makeup base without stripping delicate eyelid skin.
Wait at least a minute before applying primer. A lid that still feels damp or cool can dilute the primer and prevent it from forming an even layer. Your eyelids should feel comfortable but no longer wet, sticky, or slippery.
2. Keep Creamy Skincare Away From the Lash Line
You don’t need to stop using eye cream, but you may need to change its placement. Apply a small amount around the orbital bone instead of spreading it over the movable lid or directly against the lashes. Give moisturizer and sunscreen several minutes to settle before starting your makeup.
If your eyelids still feel slick, press a clean tissue gently over them without wiping. This absorbs surface oil and excess skincare while leaving the skin underneath undisturbed. Blotting is usually more effective than trying to cover a slippery base with extra powder.
Very emollient balms and facial oils don’t pair well with long-wear eyeliner. Use them at night or keep them away from the eye area on days when you need your liner to last. Even a waterproof formula may struggle to adhere over an oily skincare film.
Watch Out: Concealer isn’t automatically a substitute for eye primer. Many concealers contain moisturizing ingredients that look smooth under the eyes but crease quickly on oily lids, taking your eyeliner with them.
3. Apply a Thin Layer of Matte Eye Primer
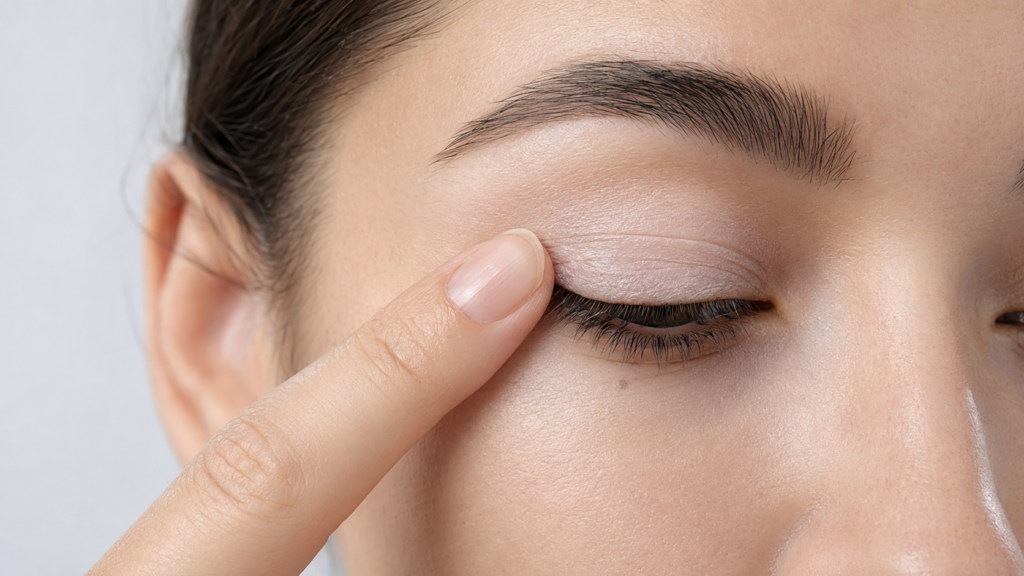
Choose an eye primer described as matte, crease-resistant, or suitable for oily eyelids. Luminous and highly moisturizing primers can help dry lids look smoother, but they often provide too much slip when oil control is the main goal. Both clear and skin-toned formulas can work as long as they dry down properly.
Spread approximately a rice-grain amount across both eyelids, concentrating on the lash line and any fold that touches your eyeliner. A thick coat won’t create better grip. Too much primer can remain gummy, roll into small flakes, or collect in the crease.
Allow the primer to set for 30 to 60 seconds before continuing. It should feel smooth and nearly dry rather than wet or tacky. I used to apply liner immediately after primer and couldn’t understand why my wings cracked; the two wet layers were mixing instead of setting separately.
4. Powder the Contact Zone Instead of the Entire Eye
Use a small fluffy brush to press a very thin layer of translucent powder or matte skin-toned eyeshadow over the crease. Concentrate on the skin that touches your eyeliner when your eyes are open. This creates a drier contact surface without making the whole eyelid look flat or powdery.
You may not need powder directly underneath the eyeliner. Too much powder along the lash line can make liquid liner skip, appear gray, or develop a rough edge. If your lash line becomes extremely oily, apply the smallest amount possible and brush away anything visible before drawing your liner.
This targeted method is particularly helpful for hooded eyes. Look straight into a mirror with your face relaxed and notice where the eyeliner normally transfers. That specific patch, rather than your entire eyelid, is where you need additional oil control.
Pro Tip: If only the outer wing transfers, powder the outer crease rather than covering the whole lid. Precise placement controls oil without adding unnecessary texture to the rest of your eye makeup.
5. Choose an Eyeliner Formula That Sets Properly
Fast-drying liquid eyeliner usually creates the cleanest, longest-wearing wing on oily lids. Its film-forming ingredients produce a thin, flexible layer that becomes less likely to move once dry. Look for terms such as waterproof, transfer-resistant, quick-drying, smudge-resistant, or long-wear.
Gel pencils offer more control and work well for softer liner looks, but they need to set after application. Traditional kohl remains blendable for longer, which also gives oil and friction more time to move it. Save creamy kohl for intentionally smoky liner rather than a sharp wing that needs to remain crisp all day.
Potted gel eyeliner can also last well when applied in thin layers. A heavy coat may dry on the surface while staying soft underneath, allowing it to stamp onto the crease. Test any new eyeliner during a normal day before depending on it for a long event.
Good to Know: A hand swatch only shows the color and initial drying time. Your hand doesn’t produce oil or fold against itself in the same way as your eyelid, so an eyeliner that survives rubbing on your hand can still transfer around the eyes.
6. Draw Thin Layers and Avoid the Moist Inner Corner
Place your eyeliner as close to the upper lashes as possible and build the shape gradually. A thin layer dries faster and contains less product that can soften or transfer. Instead of drawing one heavy stripe, add thickness only where it improves the shape.
Avoid extending the liner too far into the moist inner corner if that area tends to run. Tears, blinking, and natural eye movement make the tear-duct area difficult to keep perfectly intact. Ending the line just before the inner corner often produces a cleaner result that lasts longer.
For a wing, sketch the tail while looking directly into a mirror and then connect it to the upper lash line. On hooded eyes, a small batwing or lifted outer flick can avoid the fold more effectively than a thick, continuous wing. Drawing with your eye open helps you place the liner where it will remain visible.
7. Let the Eyeliner Dry With Your Eyes Lowered
Keeping your eyes lowered for a short time can make a greater difference than adding more setting powder. After applying liquid or gel liner, lower your gaze gently for 30 to 60 seconds without squeezing your eyes shut. A small handheld fan on a cool, low setting can help thicker sections dry faster.
Curl your lashes before drawing your eyeliner. An eyelash curler can press against the lash line, lift dried product, or damage a wing that hasn’t fully set. If curling leaves any moisture or skincare residue on the eyelid, blot it away before applying primer.
Your eyeliner has set when it no longer looks wet or feels tacky. Drying time varies between formulas, so don’t rely entirely on the product’s appearance. A thicker outer wing may need a few extra seconds even when the thinner lash line already feels dry.
8. Set Only the Areas That Usually Break Down
For additional hold, press a matching matte eyeshadow over the outer wing or other high-friction areas using a small angled brush. Pressing deposits pigment without dragging or softening the edge. Black shadow strengthens black liner, while espresso or dark brown keeps brown eyeliner rich without making it harsh.
Avoid packing shadow over the complete line unless your eyeliner remains unusually creamy. Excessive layering can make the result thick, textured, and more likely to flake. Focus on the wing, outer lash line, or whichever section consistently fades first.
Some people swear by spraying setting mist directly around the eyes, but I don’t find it dependable for oily lids. Setting spray can cause watering, and many formulas are designed to create a dewy finish rather than control oil. A targeted layer of matte shadow is more precise and predictable.
Adjust Your Eyeliner Placement for Hooded and Deep-Set Eyes
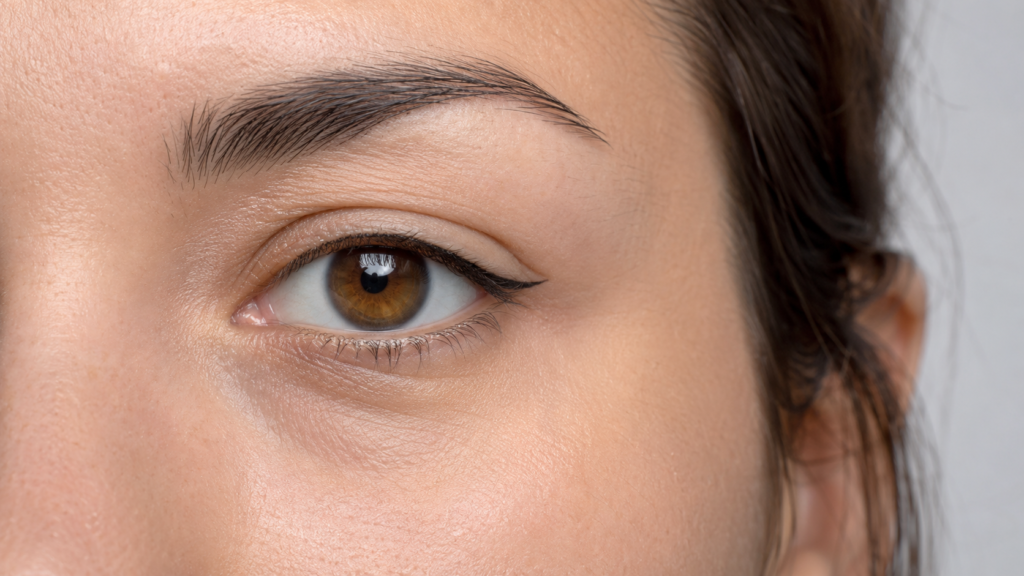
Preparation can reduce smudging, but it can’t fully overcome constant skin-on-skin contact. If your eyeliner repeatedly transfers in the same place, changing the shape may work better than adding another coat of primer or powder. Keep the line thin across the center of the eye and place most of the definition along the outer third.
Draw the wing while your eye is open and your brows are relaxed. This position reveals where the natural fold interrupts the line. You can then build a small batwing or lifted flick around the crease instead of drawing directly through it.
A thick wing may appear smooth when your eye is closed but collapse into the fold when you look forward. Working around your natural crease uses less product, reduces friction, and keeps more of the liner visible. It can also prevent a heavy line from making hooded eyes appear smaller.
Why Your Waterproof Eyeliner Still Disappears
A slippery makeup base is one of the most common reasons waterproof liner fails. Eye cream, sunscreen, dewy concealer, or an unset primer can sit between the eyeliner and your skin. The formula can’t bond properly, so it shifts as oil and friction build throughout the day.
Applying several wet layers too quickly creates a similar problem. Primer, eyeliner, and setting shadow need time to settle separately. When the layers mix before drying, they form one thick coating that can crease, peel, or crack.
Waterline eyeliner wears differently from a line drawn on the skin. The waterline remains moist and makes direct contact with the eye, so gradual fading is normal even with a waterproof pencil. Don’t judge an eyeliner’s upper-lid performance solely by how long it survives on the waterline.
Check your mascara before assuming every dark mark comes from your liner. Upper lashes can touch the brow-bone area, while lower lashes may leave dots or shadows beneath the eyes. A tubing or transfer-resistant mascara may solve what initially looks like an eyeliner problem.
How to Correct a Smudge Without Making It Worse
Don’t rub a fresh eyeliner mark as soon as you notice it. Allow the smudge to dry, then gently twist a clean, dry cotton swab over the area. Dried liner often lifts away neatly, while wet pigment is more likely to spread into a larger gray patch.
If your eyelid has become oily, press a small piece of blotting paper against the skin without dragging it over your wing. Touch up only the section that has faded instead of tracing over the complete line. Repeatedly redrawing the whole wing creates unnecessary thickness and can make the original layer crack.
For a stubborn mark, use a pointed cotton swab with the smallest amount of oil-free micellar water. Let the cleaned area dry completely before replacing any primer, powder, or eyeliner. Avoid oily makeup remover unless you’re prepared to redo that entire section.
The Final Take
The best way to make eyeliner last on oily lids all day isn’t to use the driest formula or the largest amount of powder you can tolerate. A clean base, thin primer, targeted oil control, a setting eyeliner formula, and enough drying time work more reliably than heavy layers.
Some fading around the inner corner and waterline is normal, especially if your eyes water. Aim for a clean lash line and a wing that doesn’t stamp onto your crease rather than makeup that requires aggressive scrubbing to remove. Save this routine for your next long day and adjust the powder placement according to where your eyeliner actually transfers.