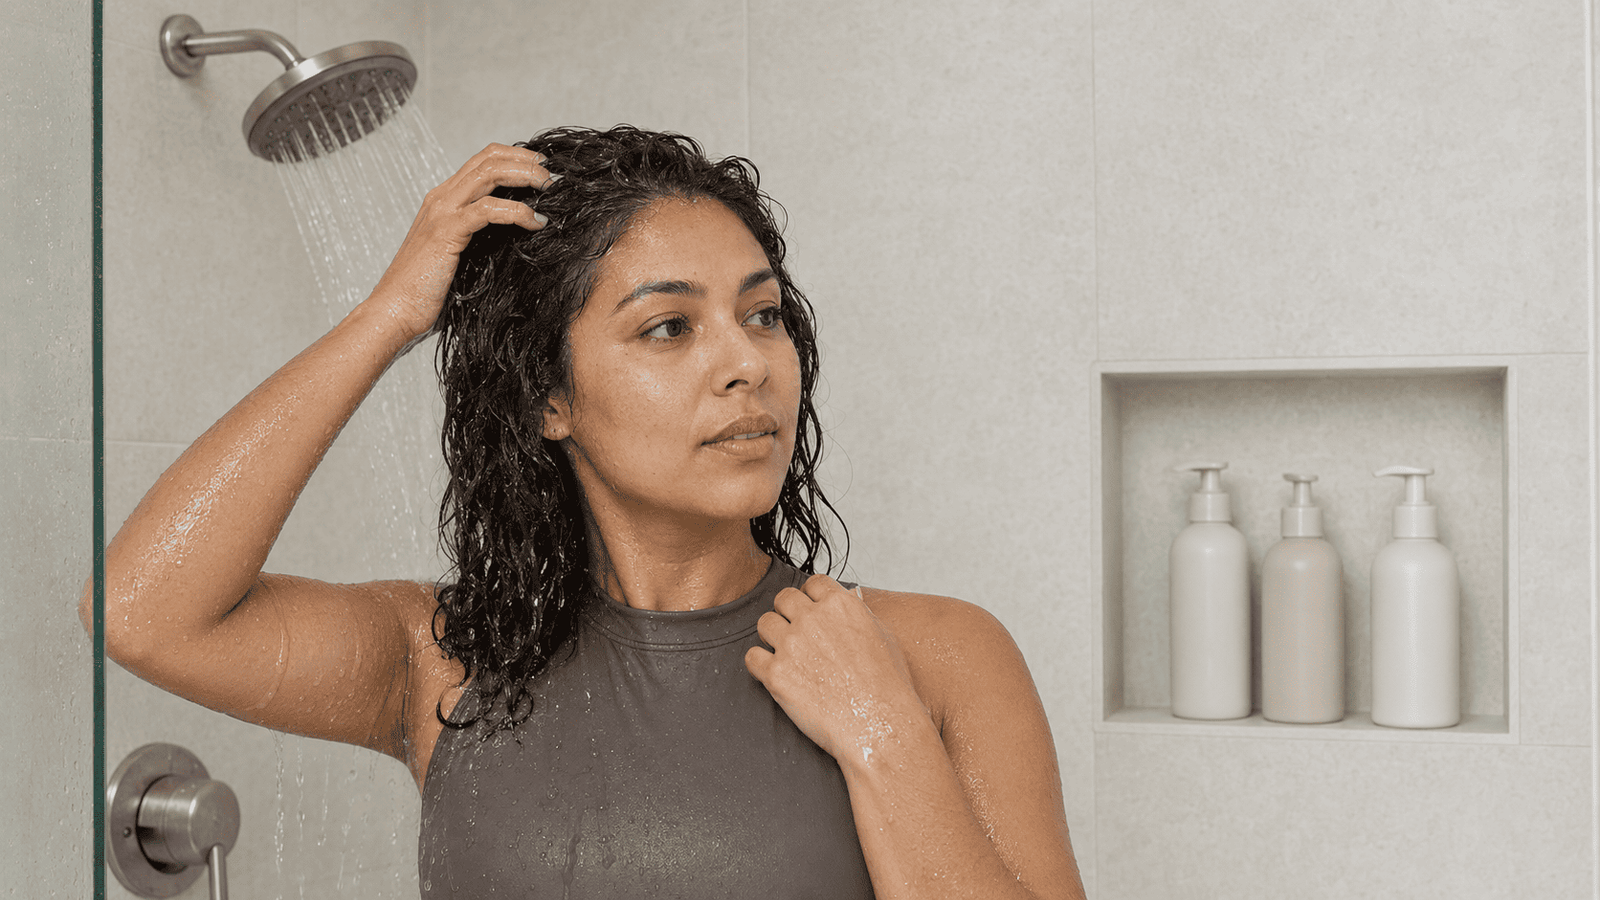
An “everything shower” can easily turn into 40 minutes of scrubbing, layering, and using products your skin never asked for. The real issue isn’t that your routine needs more steps; it’s that shampoo, conditioner, body cleansing, shaving, and moisturizing work better in a specific order.
This complete shower routine checklist for skin, hair, and body covers the daily basics plus the occasional steps that belong in a longer shower. It also explains what you can skip, because exfoliating, shaving, clarifying, and deep conditioning during every wash can leave your skin irritated and your hair harder to manage.
Quick Answer: Detangle your hair and remove heavy makeup before showering. Once inside, shampoo your scalp, use conditioner or a hair mask, and rinse your hair before washing your body. Exfoliate only when needed, shave near the end, cleanse your face last, then dry carefully and moisturize while your skin is slightly damp.
Daily Shower or Everything Shower?
A daily shower should focus on removing sweat, odor, sunscreen, and visible dirt without stripping your skin. It may include a body cleanse and quick facial wash, but it doesn’t automatically require shampoo, shaving, or exfoliation. Keeping daily showers simple makes it easier to tolerate occasional treatment steps.
A hair-wash shower adds shampoo, conditioner, and any leave-in products your hair needs. An everything shower may also include a hair mask, body exfoliation, shaving, foot care, or a targeted acne wash. You can use the complete shower routine checklist as a menu rather than forcing every step into every shower.
Before the Shower
1. Detangle Your Hair First
Gently detangle dry hair from the ends upward before getting it wet because wet strands stretch and break more easily. If you have tightly curled or coily hair that is easier to manage with slip, detangle it in sections during the conditioning step instead. The right method is the one that removes knots without aggressive pulling or snapping.
2. Remove Makeup and Resistant Sunscreen
Use a cleansing balm, cleansing oil, or micellar water before showering when you’re wearing long-wear makeup or water-resistant sunscreen. Oil-based cleansing products loosen makeup, sebum, and resistant sunscreen films so your regular cleanser doesn’t have to do all the work. If you’re wearing only light skincare, a single gentle cleanse later may be enough.
3. Prepare Your Products and Tools
Place your clean towel, shampoo, conditioner, body wash, razor, and post-shower products within easy reach. Having everything ready prevents you from standing under running water while searching for a product. It also reduces the temptation to use whichever harsh scrub or old razor happens to be nearby.
Start With the Right Water Temperature
4. Use Warm, Not Steaming-Hot, Water
Hot water removes more of the surface lipids that help skin hold moisture, which can leave your face, body, and scalp feeling tight or itchy. Use comfortably warm water and keep most showers around five to ten minutes when possible. A longer everything shower is fine occasionally, but turning down the temperature matters more as the shower gets longer.
Cold water may feel refreshing, but it doesn’t permanently close pores or seal split ends. Pores don’t open and close like doors, and damaged hair can’t be permanently repaired by a final cold rinse. Choose a temperature that cleans comfortably without leaving your skin red.
Good to Know: If the bathroom is heavily steamed and your skin looks pink after showering, the water is probably hotter than it needs to be.
Wash Your Hair Before Your Body
5. Saturate Your Hair Completely
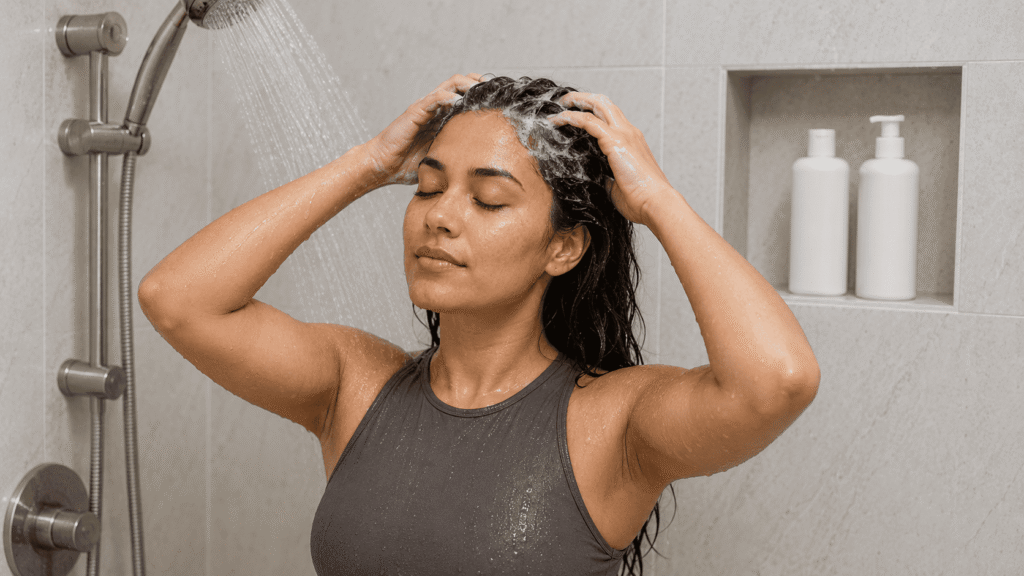
Let water move through your hair and reach the scalp before applying shampoo. Proper saturation helps shampoo distribute more evenly, so you’re less likely to keep adding product because one area isn’t lathering. Dense, curly, and low-porosity hair may need to be lifted in sections for water to reach underneath.
6. Choose Shampoo for Your Scalp
Choose shampoo according to your scalp condition rather than only the appearance of your ends. An oily scalp may need stronger cleansing, while a dry or reactive scalp may respond better to a gentle fragrance-free formula. The conditioner, mask, and leave-in products can then address dryness or damage through the lengths.
Flakes don’t always mean the scalp is simply dry. Greasy flakes, persistent itching, or recurring scale may require an anti-dandruff shampoo rather than extra scalp oil. Treatment shampoos usually need to sit on the scalp for the contact time listed on the label, because rinsing them immediately limits what the active ingredient can do.
7. Shampoo the Scalp, Not the Ends
Apply shampoo to the scalp and massage with your fingertips, paying attention to the hairline, crown, behind the ears, and back of the head. Avoid scratching with your nails or piling long hair on top of your head, as both create unnecessary friction. The shampoo that travels down during rinsing is usually enough to clean the ends.
I used to add another handful of shampoo whenever the first application didn’t foam, but the problem was often incomplete saturation rather than unusually dirty hair. Foam also isn’t a reliable measure of cleansing because gentle formulas may naturally produce less lather. Start with enough water and a modest amount of shampoo before deciding you need more.
8. Double Shampoo Only When Needed
A second shampoo can help after several days of dry shampoo, heavy styling products, scalp oil, or intense sweating. The first cleanse loosens surface residue, while the second can reach the scalp more evenly. Double washing every day isn’t automatically cleaner and may leave dry, colored, or curly hair feeling rough.
9. Know When to Clarify or Chelate
Clarifying shampoo removes stubborn buildup from styling products, silicones, waxes, and excess oils. Chelating shampoo is designed to bind to mineral deposits that hard water can leave on the hair, so it may be more useful if your hair feels coated and your fixtures develop white scale. Neither type is intended to replace your regular shampoo unless its directions say otherwise.
Occasional use may restore movement and improve how conditioner performs, but frequent use can fade color or make dry hair feel stiff. A basic shower filter may reduce chlorine or certain impurities, but most standard filters don’t truly soften hard water. I wouldn’t treat a shower filter as a guaranteed fix for dryness, buildup, or hair shedding.
10. Use Conditioner or a Hair Mask
Squeeze excess water from your hair before applying conditioner from the mid-lengths to the ends. Hair that is dripping wet can dilute the product and make it slide off before conditioning agents coat the strands. Leave it on for the recommended time, then detangle gently with your fingers or a wide-tooth comb if your hair tolerates wet detangling.
A rinse-out hair mask usually replaces regular conditioner on that wash day rather than sitting on top of it. Masks can improve softness, lubrication, and manageability, but they can’t permanently reconnect split ends. Protein-heavy treatments can also make some hair feel stiff when overused, so save them for hair that responds well to protein.
11. Rinse Hair Products Thoroughly
Rinse the scalp, hairline, neck, shoulders, chest, and back until the hair no longer feels heavily coated. Conditioner residue running over the body can mix with sweat and friction, which may contribute to clogged pores in some people. This is why body cleansing belongs after the hair steps in a complete shower routine checklist.
Clean Your Body Without Over-Scrubbing
12. Wash the Areas That Collect Sweat
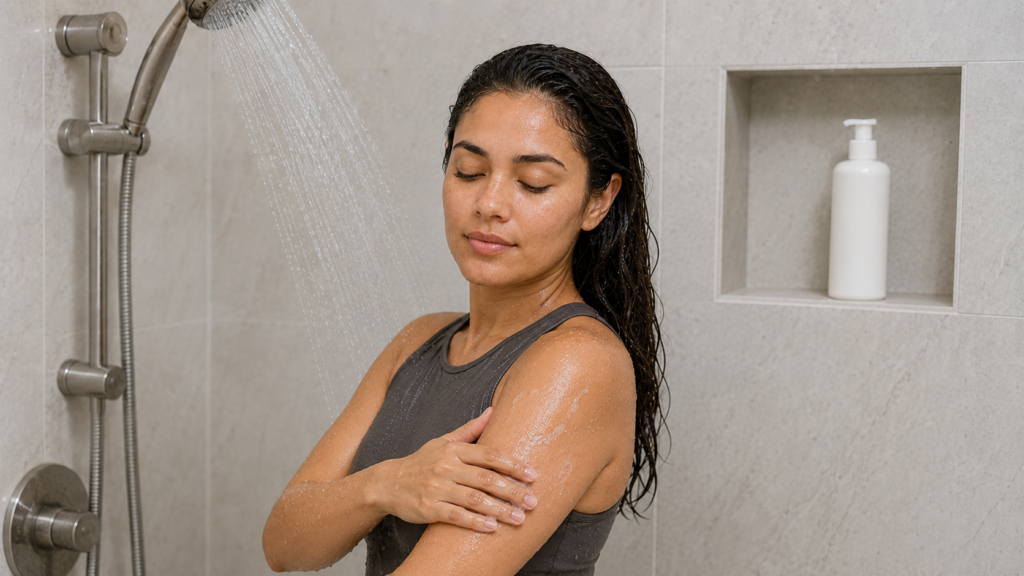
Apply a gentle body wash or cleansing bar to the underarms, groin creases, buttocks, feet, and any area covered in sunscreen or visible dirt. On low-sweat days, dry arms and legs may not need aggressive daily soaping. Your skin should feel comfortable after rinsing, not squeaky, tight, or coated in fragrance.
Hands are often the gentlest body-washing tool, while a soft washcloth provides mild physical exfoliation. Loofahs and dense mesh poufs can remain damp inside and become difficult to keep clean. If you use a reusable washcloth, let it dry fully and replace it with a clean one regularly.
13. Don’t Miss Skin Folds and Feet
Clean behind the ears, inside the belly button, under the breasts, around groin folds, between the toes, and across the soles of the feet. These areas trap sweat, dead skin, and moisture even when they don’t look dirty. Standing in soapy shower water doesn’t properly clean the bottoms of your feet or the spaces between your toes.
14. Keep Intimate Cleansing External
Clean the vulva externally with lukewarm water or a mild fragrance-free cleanser if needed, but don’t wash inside the vagina. Douching and heavily fragranced intimate products can disrupt the normal environment and trigger irritation. Clean the penis and surrounding folds gently, and if uncircumcised, retract the foreskin without force to rinse accessible external buildup.
15. Clean Only the Outside of Your Ears
Wash the outer ear and the skin behind it gently, then rinse away any cleanser. Don’t push cotton swabs, fingers, or shower tools into the ear canal because they can move wax deeper or injure delicate skin. Earwax has a protective purpose and normally moves outward on its own.
Add Treatment Steps Only When Needed
16. Exfoliate Once or Twice a Week
Exfoliation is an occasional treatment, not proof that you’ve cleaned properly. A soft washcloth or mild scrub removes loose cells through friction, while ingredients such as lactic acid, glycolic acid, or salicylic acid loosen buildup in different ways. Start once weekly and increase only if your skin remains comfortable.
Salicylic acid can suit oily or clogged areas because it works within oil-rich pores, while lactic acid may feel more comfortable on rough, dry skin. Avoid combining a strong scrub and exfoliating acid on the same area during one shower. Sunburned, cracked, inflamed, or freshly shaved skin should be allowed to recover instead of being exfoliated.
17. Treat Body Breakouts Without Scrubbing
Rough loofahs don’t clean body acne out of the skin and may increase friction around inflamed bumps. A salicylic acid wash can help with clogged pores, while a benzoyl peroxide wash may suit inflamed breakouts when used according to its directions. These products often work better when given the label-recommended contact time instead of being rinsed off immediately.
Benzoyl peroxide can bleach towels, bathmats, and clothing even after you think it has rinsed away. Use white towels or rinse especially carefully if it’s part of your routine. Painful, spreading, or persistent breakouts deserve professional assessment rather than stronger scrubbing.
Watch Out: Burning, persistent redness, peeling, or unusually shiny tight skin usually means you’ve combined too much heat, friction, or exfoliation.
Shave Toward the End
18. Let Hair Soften Before Shaving
Shave after your skin and hair have been exposed to warm water for several minutes. Hydrated hair becomes softer and takes less force to cut, reducing the need to press the razor into the skin. Apply enough shaving cream, gel, or fragrance-free creamy cleanser to give the blade proper slip.
Shaving with the direction of hair growth may reduce razor bumps, while shaving against the grain gives a closer result with a greater risk of ingrown hairs. Use light pressure, short strokes, and as few passes as possible. A blade that pulls, scratches, or requires pressure needs replacing.
19. Separate Strong Exfoliation From Shaving
Don’t use an aggressive scrub, strong exfoliating acid, and close razor on the same body area in one session. Shaving already removes some surface cells, so adding multiple exfoliation methods can create burning and barrier irritation. If you’re prone to ingrown hairs, use a gentle chemical exfoliant on a non-shaving day instead.
Clean Your Face Last
20. Use a Separate Facial Cleanser
Wash your face after all shampoo, conditioner, and body products have been rinsed away. Massage a small amount of gentle facial cleanser over damp skin, focusing on the hairline, sides of the nose, and jaw without using a rough body cloth. This final cleanse removes residue that may have traveled over the face during hair washing.
Very hot shower water and direct water pressure can bother dry, rosacea-prone, or highly reactive skin. If your face feels tight after in-shower cleansing, wash it at the sink where you can control the temperature and rinse more gently. A separate face cleanser also makes more sense than using a fragranced body wash on facial skin.
Finish the Routine Outside the Shower
21. Dry Different Areas Differently
Pat your arms, legs, and torso gently, leaving them slightly damp if you plan to moisturize immediately. Dry between the toes, inside skin folds, under the breasts, and around the groin more thoroughly because trapped moisture can encourage chafing, odor, and fungal overgrowth. The damp-skin rule shouldn’t be applied blindly to every area.
22. Moisturize Within a Few Minutes
Apply body lotion or cream soon after showering to slow water loss from the skin. Humectants such as glycerin help attract water, while ingredients such as ceramides, petrolatum, dimethicone, and shea butter help reduce moisture loss. Dry skin generally benefits from a cream, while oily skin or humid weather may make a lighter lotion more comfortable.
In my experience, a luxurious body wash doesn’t compensate for skipping moisturizer when your skin is genuinely dry. Wash-off products stay on the skin briefly, while moisturizer remains in place and supports the barrier for longer. Consistent use of a plain formula usually matters more than an elaborate product lineup.
23. Apply Facial Skincare in the Right Order
Complete your facial routine with hydrating products followed by moisturizer, then sunscreen if you’ll be exposed to daylight. Let your face dry fully before applying potentially irritating treatments such as retinoids or exfoliating acids, because damp skin can increase penetration and make them sting more. Follow the specific treatment’s instructions instead of assuming every serum belongs on wet skin.
24. Use Deodorant or Antiperspirant Correctly
Apply deodorant or antiperspirant to clean, completely dry underarms. Deodorant helps control odor, while antiperspirant reduces sweat, so choose according to the problem you want to manage. Fragranced or alcohol-heavy formulas may sting directly after shaving, making it better to wait or use a gentler product.
25. Handle Wet Hair Gently
Squeeze water from your hair instead of twisting or rubbing it with a rough towel. Apply leave-in conditioner through the mid-lengths and ends, followed by styling products and heat protectant when needed. A microfiber towel or soft cotton T-shirt can reduce friction, especially on curly, bleached, or fragile hair.
Avoid pulling soaking-wet hair into a tight bun or ponytail because wet strands stretch more easily under tension. Apply curl products to wetter hair for lighter distribution and more clumping, or to damp hair when you want a more concentrated hold. The best timing depends on your texture and the finish you want.
26. Dry Your Tools and Towels
Hang your towel fully open instead of leaving it crumpled on a hook or floor. Let washcloths, scalp brushes, exfoliating gloves, and razors dry in a ventilated area outside the wettest part of the shower. Constantly damp tools can collect residue and microbes long before they look obviously dirty.
Keep razors away from puddles because prolonged moisture dulls blades and encourages rust. A dull blade requires more pressure and passes, increasing the chance of irritation. Using a separate clean face towel can also help if you’re prone to breakouts or eye irritation.
How Often to Follow the Complete Routine
This complete shower routine checklist isn’t meant to be completed from top to bottom every day. Clean necessary body areas as often as your activity level requires, wash your scalp when it becomes oily or coated, and reserve shaving, clarifying, chelating, masking, and exfoliating for appropriate days. Your routine should respond to your skin and scalp rather than a fixed social-media schedule.
Fine or oily hair may need frequent shampooing, while dry, curly, coily, or chemically treated hair may feel better with more time between washes. Exfoliation may fit once or twice weekly, and a hair mask can replace conditioner whenever the lengths need extra softness. If a routine consistently causes itching, burning, painful bumps, worsening flakes, or unusual hair loss, stop adding products and seek professional guidance.
The Honest Bottom Line
The best complete shower routine checklist for skin, hair, and body isn’t the longest one. The right order matters: wash and condition your hair first, cleanse your body afterward, save shaving and facial cleansing for the end, then dry carefully and moisturize promptly. Save this checklist for your next everything shower, but keep ordinary shower days simple enough that your skin and hair can tolerate them.