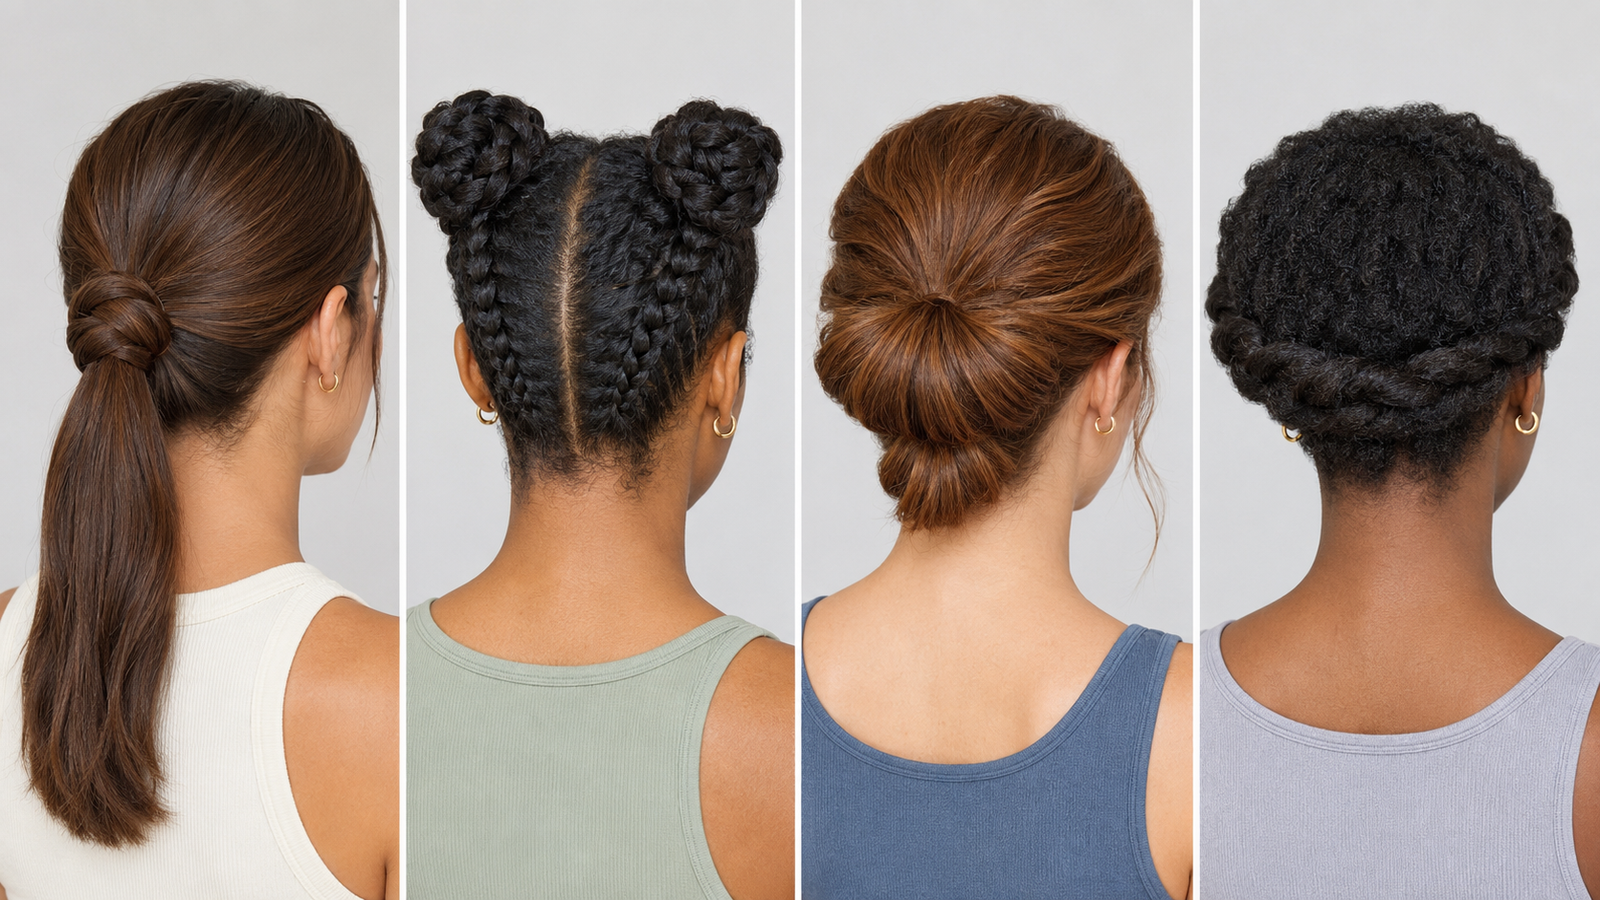
You can leave home with smooth hair and find a halo of frizz forming before you reach the car. That’s August humidity doing what it does best: slipping moisture into the hair shaft, disrupting the set shape, and bringing your natural texture back to the surface.
These 15 easy hairstyles for humid August days that actually hold don’t depend on perfectly straight, motionless hair. Each style uses braiding, twisting, balanced tension, or strategic texture to stay presentable through heat, sweat, and moisture—without turning your hair stiff or greasy.
Why Some Hairstyles Collapse in Humidity
Hair absorbs water from humid air, especially when it’s porous from coloring, heat styling, or existing dryness. As the strands swell, straightened sections bend, curls lose uniformity, and carefully smoothed flyaways begin to lift.
A lasting style needs a secure foundation more than a heavy layer of hairspray. Dry the roots completely, use a grip product suited to your texture, and choose elastics and pins that can support the weight of your hair. Controlled styles such as braids, twists, and buns generally hold longer than loose blowouts.
Pro Tip: Apply lightweight mousse or texture spray before styling fine hair. For thick, curly, or coily hair, use a small amount of moisturizing cream followed by gel around the hairline. Too many slippery products can make pins and elastics slide.
15 Easy Hairstyles for Humid August Days That Actually Hold
1. Sleek Low Bun With a Center Part
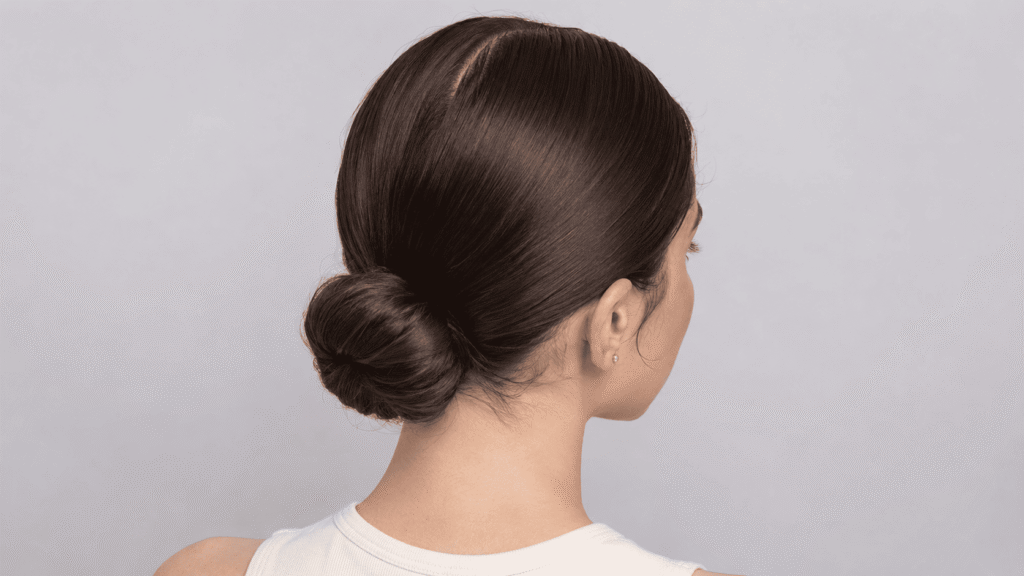
A low bun contains nearly every strand while still looking polished enough for work or dinner. It suits oval, round, and heart-shaped faces, although a slightly off-center part can soften a long face. Apply flexible gel at the roots, make a firm low ponytail, twist the length, and anchor the bun with U-shaped pins.
2. Textured High Ponytail
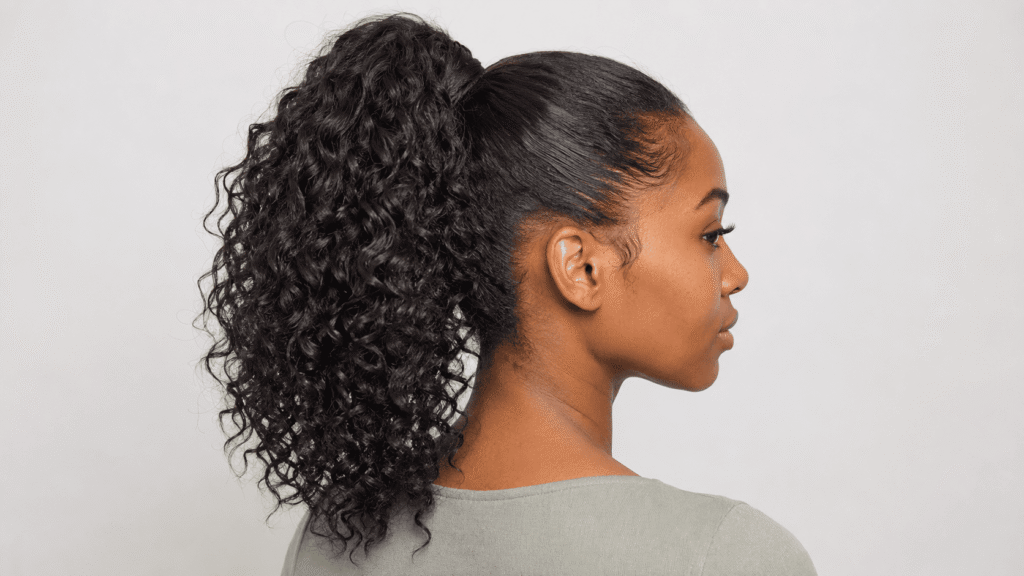
This ponytail uses the volume created by humidity instead of trying to flatten it. It works particularly well for thick, wavy, or curly hair and helps visually lengthen round faces. Secure the base tightly at the crown, then loosen the roots slightly. Keep the ponytail textured, but smooth the hairline so the contrast looks intentional.
3. Double Dutch Braids
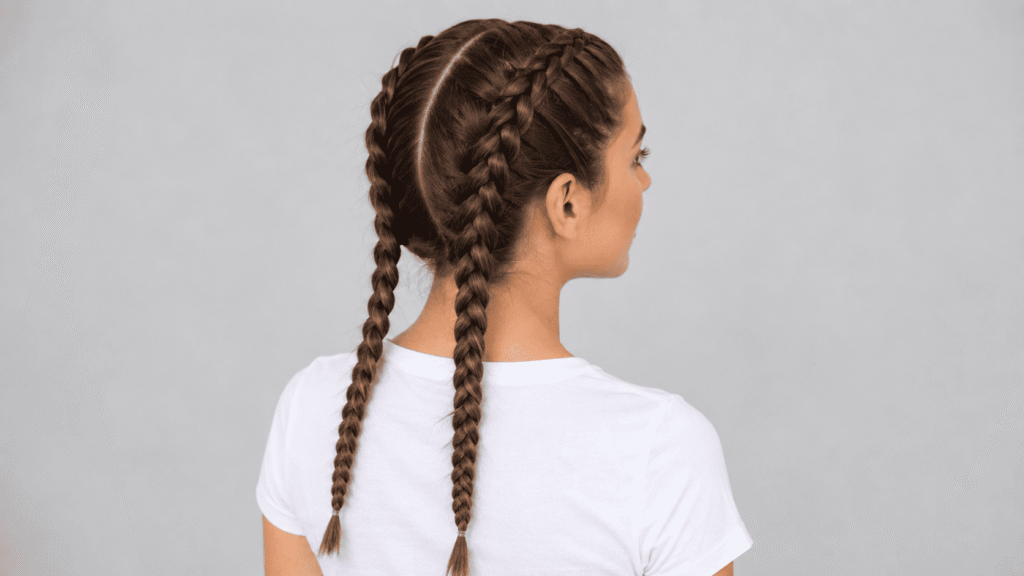
Double Dutch braids spread tension evenly across the scalp and secure shorter layers better than one loose braid. They’re practical for active days, outdoor plans, and hair that expands quickly. Apply mousse or styling cream before sectioning, braid with consistent tension, and resist pulling the finished loops apart if you need the style to last all day.
4. Claw-Clip French Twist
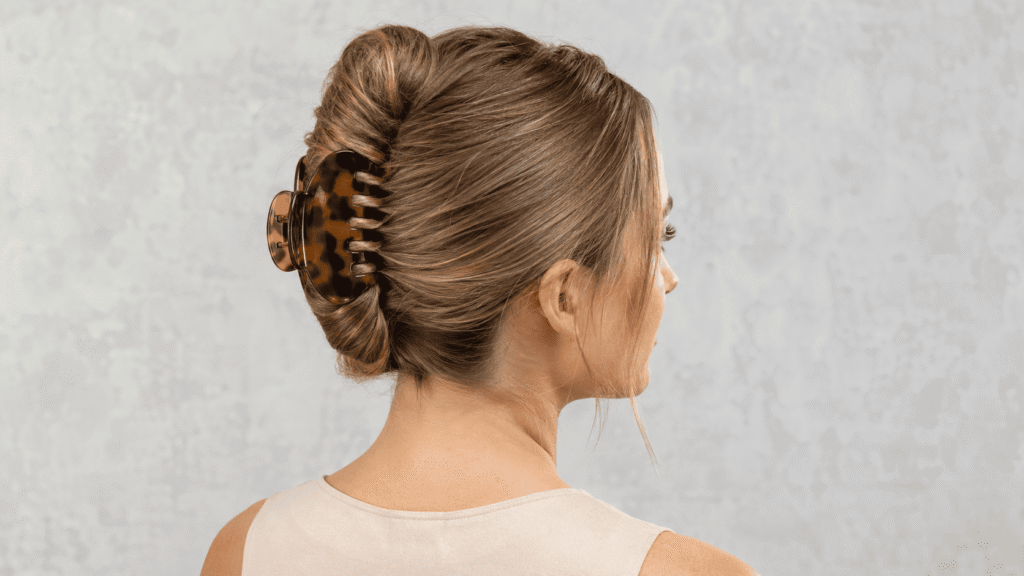
A claw-clip twist takes about two minutes but looks more considered than a quick ponytail. Gather the hair at the nape, twist it upward, fold the ends down, and secure the center vertically. Choose a large clip with interlocking teeth and a firm spring. Shallow decorative clips often lose their grip once thick hair begins to swell.
5. Bubble Ponytail
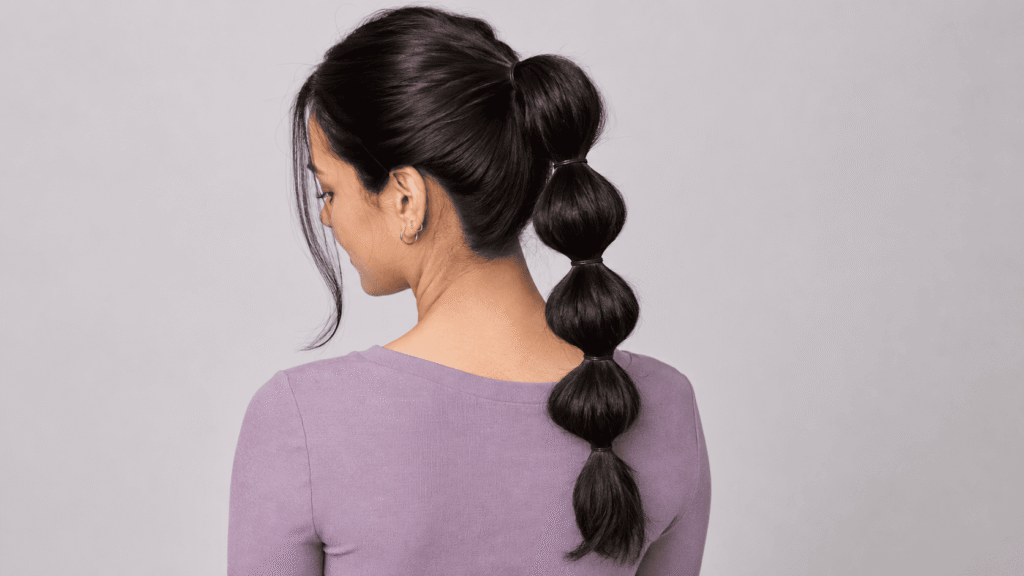
A bubble ponytail stays attractive even when the lengths become fuller in damp air. It works best on medium-to-long hair with enough length for at least two bubbles. Start with a secure ponytail, add small elastics every two or three inches, and widen each section gently. Don’t over-pull, or the bubbles may become uneven later.
6. Braided Low Ponytail
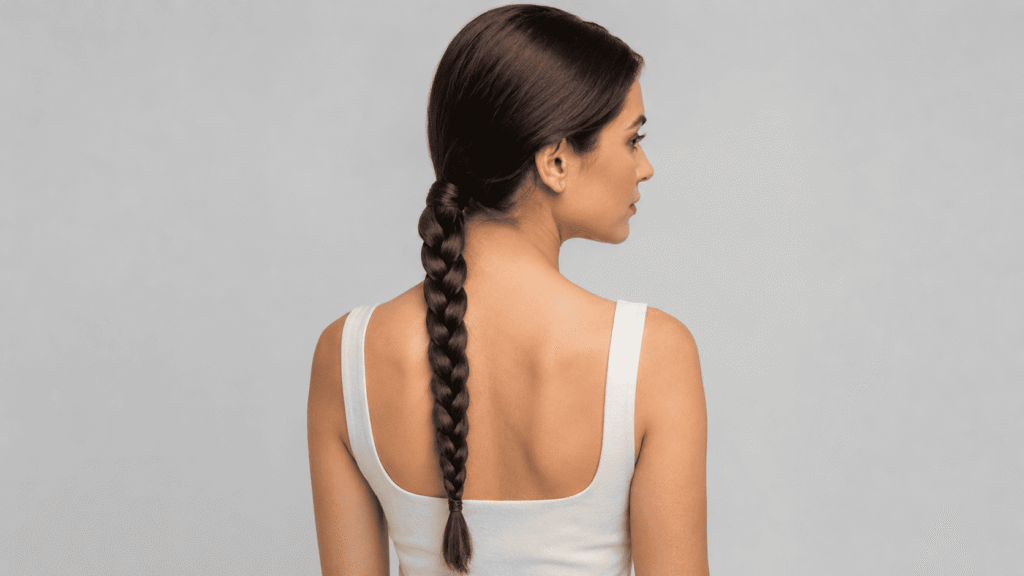
A braided low ponytail controls the roots and lengths without the tightness of a full updo. It’s especially useful for long, dense hair that feels heavy in a high ponytail. Secure the base first, braid the length firmly, and add a second elastic at the end. Smooth only obvious flyaways rather than coating the entire braid in gel.
7. Half-Up Rope Twist
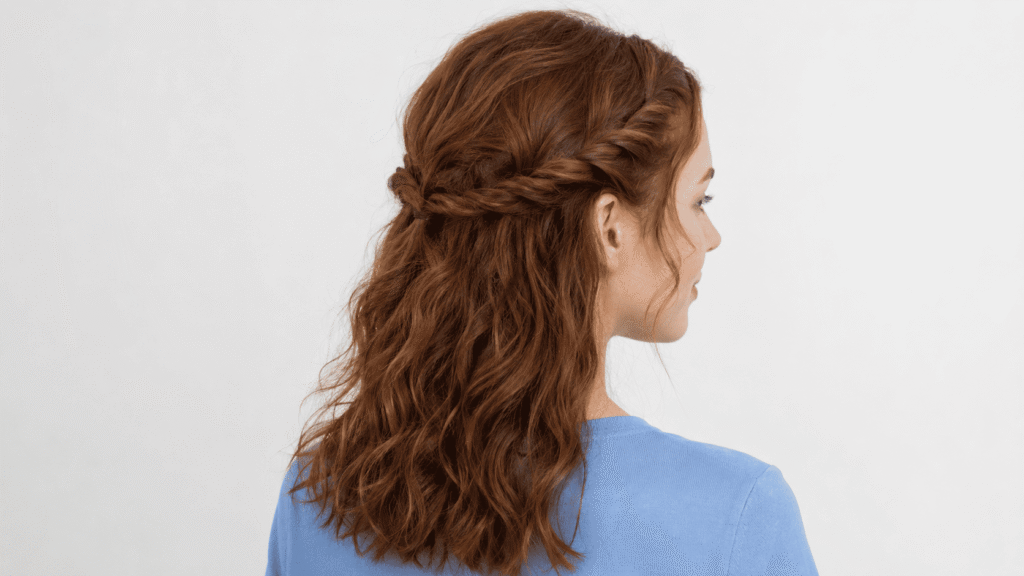
This half-up style keeps the front layers contained while leaving your natural texture visible through the ends. Take equal sections from both temples, twist each section away from the face, and join them with a small elastic. It flatters most face shapes and is particularly useful when you want control without exposing your entire hairline.
8. French-Pin Vertical Twist
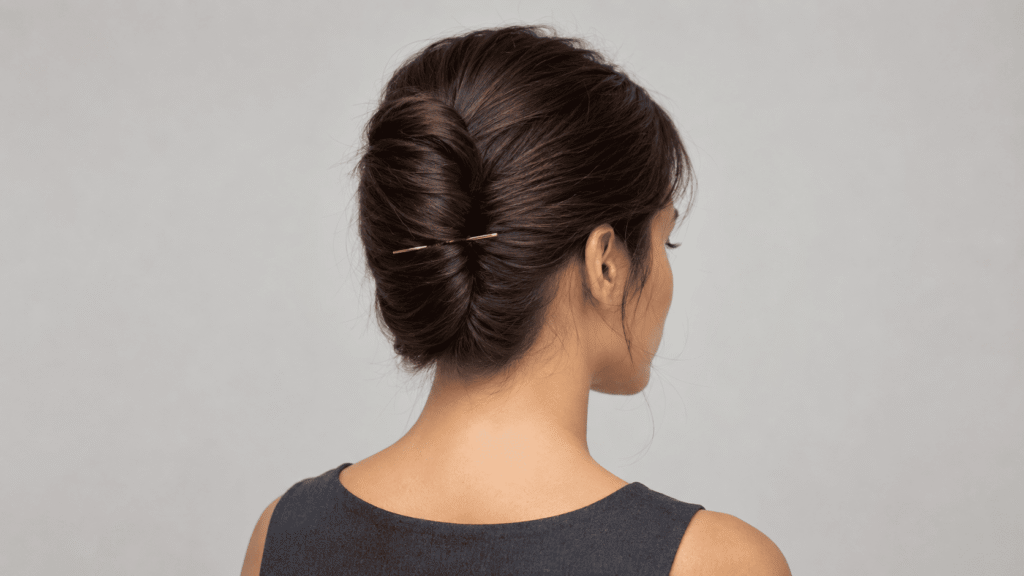
A vertical twist creates a clean updo without the rounded shape of a traditional bun. It suits medium-to-long hair, especially when humidity makes the lengths expand. Gather the hair at the nape, twist it upward, tuck the ends inside, and weave in a sturdy French pin. Fine or freshly washed hair will need texture spray for grip.
9. Low Twisted Chignon
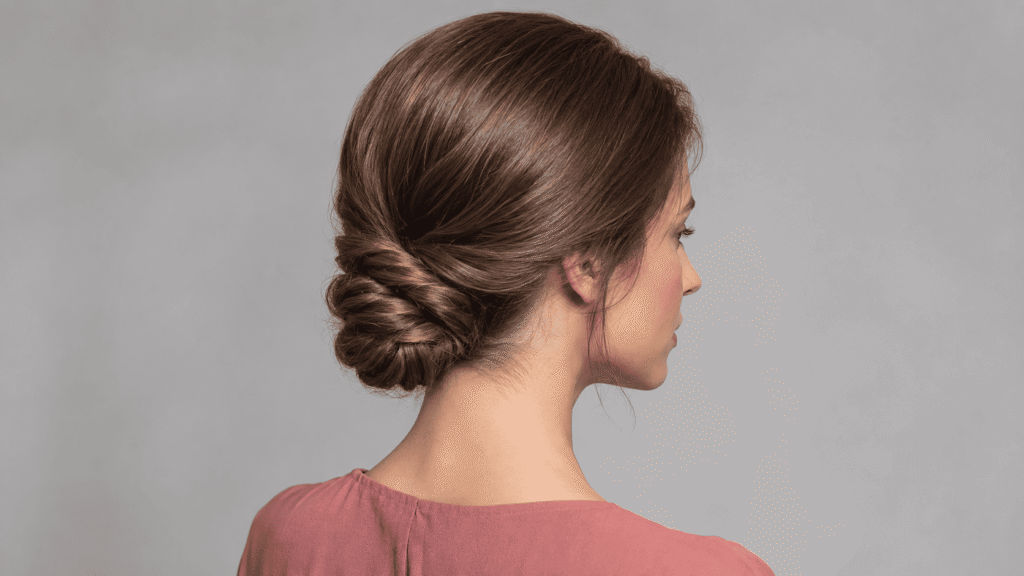
A chignon feels softer than a sleek bun but still keeps the hair securely off your neck. Make a low ponytail, divide it into two sections, twist them together, and wrap the twist around the base. Cross two U-pins through opposite sides of the bun. This method holds medium-density hair better than relying on small bobby pins alone.
10. Crown Braid With Hidden Pins
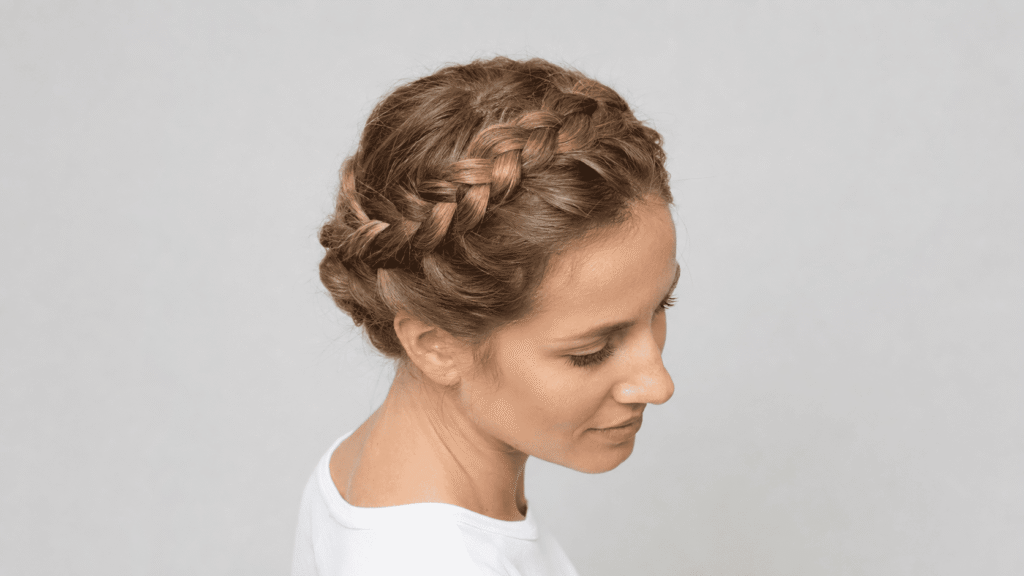
The crown braid protects longer hair from becoming puffy or tangled while creating a distinct, romantic shape. Make two low braids, wrap each one over the head, and hide the ends beneath the opposite braid. Pin every few inches rather than only at the ends. It suits oval and heart-shaped faces particularly well.
11. Curly Pineapple Updo
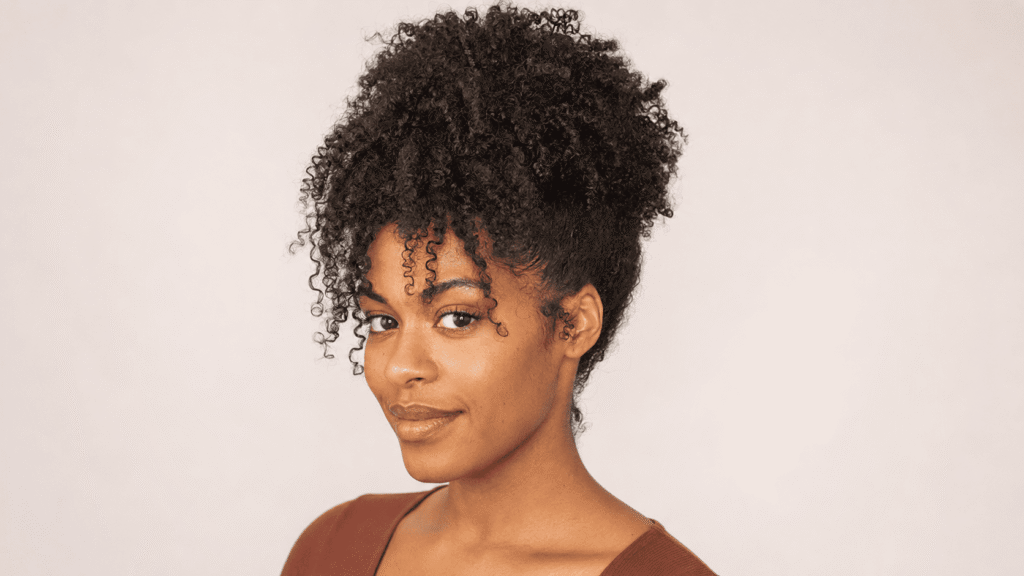
The pineapple gathers curly or coily hair at the highest point of the head without crushing its pattern. Use a soft fabric-covered elastic and wrap it only as tightly as needed. Pin shorter back sections upward, then arrange the curls around the top. Keep some natural volume at the crown so the style doesn’t look pulled or overly controlled.
12. Sectioned Mini-Bun Updo
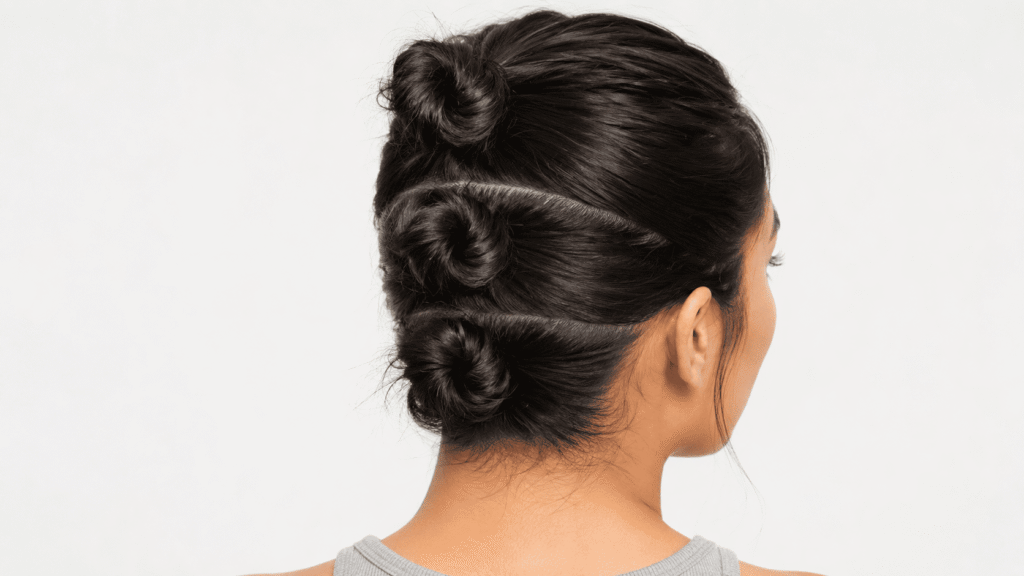
One large bun can sag when hair is thick or heavy. Dividing it into two or three smaller buns spreads the weight and creates a more secure style. Place the buns vertically along the back of the head, twisting and pinning each section separately. Keep them close together so they read as one intentional updo rather than random knots.
13. Side Braid With a Deep Part

A side braid works well when humidity creates uneven volume, since the deep part and diagonal shape make the texture look deliberate. Bring all the hair over one shoulder and begin braiding below the ear. The style flatters square and round faces, while a small amount of gel near the part controls shorter pieces without flattening the braid.
14. Headband Tuck
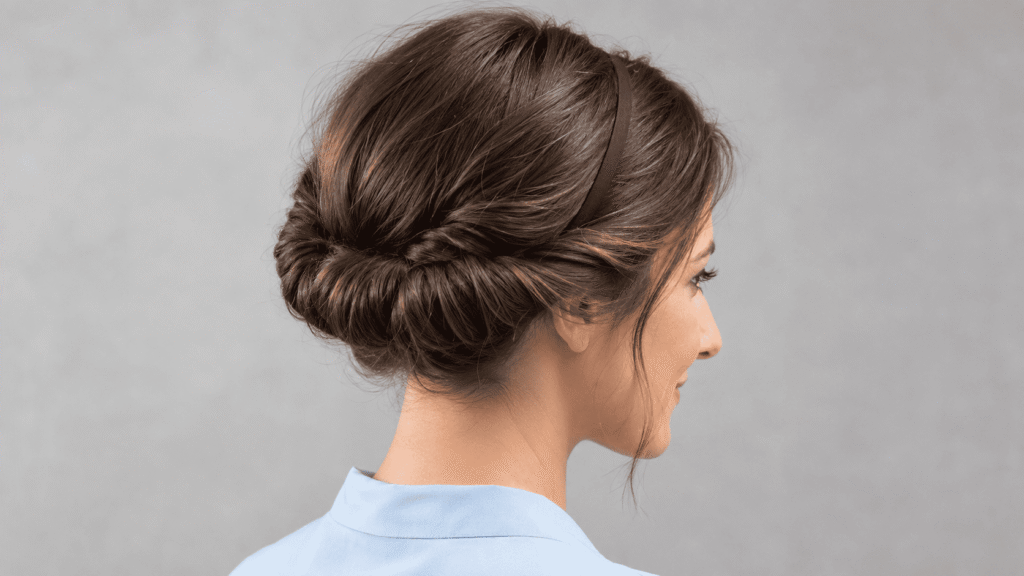
The headband tuck is ideal for shoulder-length hair that’s too short for a full, secure bun. Place a non-slip elastic headband over the hair, then roll small sections upward and tuck them around it. Add pins at the sides and center back. Avoid satin-covered bands because they usually slide once moisture or natural oils reach the roots.
15. Natural-Texture Half-Up Bun
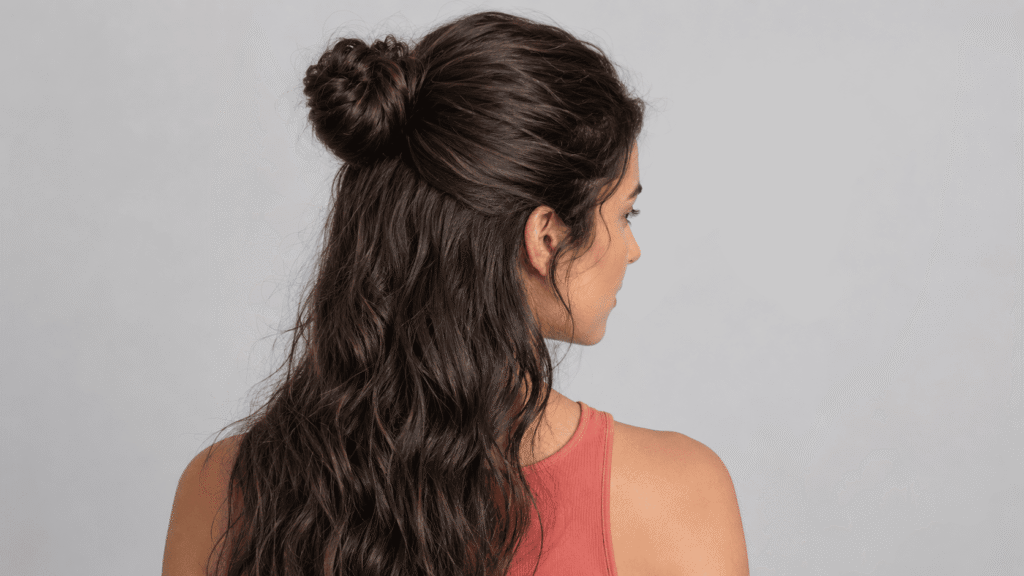
A half-up bun controls the front and crown while allowing humidity to enhance the loose texture below. Gather the top third of the hair, secure it with an elastic, and form a compact bun rather than a loose knot. This style works across straight, wavy, curly, and coily textures; simply adjust the amount of smoothing product you use.
Prep Your Hair for Heat, Sweat, and Moisture
The most important step happens before you pick up an elastic: make sure your hair is dry. Even slightly damp roots continue changing shape after styling. If you wash your hair in the morning, spend an extra minute drying the roots, nape, and areas behind the ears.
Fine hair usually holds best with airy mousse, dry texture spray, or flexible hairspray. Heavy creams may control flyaways at first but can make fine roots collapse. Thick or coarse hair often benefits from a leave-in cream beneath gel, particularly around the part and hairline.
Curly and coily hair needs enough moisture to prevent roughness, but that doesn’t mean layering every product you own. A leave-in followed by a compatible gel often creates better control than several oils and creams. Oil adds shine and reduces friction, but it provides very little structural hold.
I used to smooth serum over my roots before making a summer bun. It looked neat for an hour, then the elastic began sliding and the crown separated into oily sections. Moving the serum to the ends and using a dry grip product at the roots made the style last much longer.
Watch Out: Don’t straighten your hair automatically before creating an updo. The extra heat rarely improves its hold, and the contrast becomes more visible when humidity brings back your natural pattern. Stretch or smooth only the sections that genuinely need it.
Small Techniques That Make Any Style Hold Longer
Use the right pin for the job. Bobby pins secure small sections and flyaways, while open U-shaped pins anchor buns without flattening them. A French pin works by weaving through both the twist and the hair underneath, not by sliding straight into the finished style.
Place the ridged side of a bobby pin against your scalp for better grip. If you need two pins in one area, cross them so one blocks the other from moving backward. Spraying slippery pins with a little dry texture spray can also help, but let them dry before inserting them.
Match the elastic to the weight of your hair. Thin clear elastics work for braid ends and small half-up sections, but they aren’t reliable foundations for thick ponytails. Use a strong, snag-free elastic at the base, then hide it with hair if you want a more finished appearance.
I also keep two mini elastics and three sturdy pins in my bag during August. They’re more useful than another travel hairspray because they let me turn a loosening half-up style into a firm braid or bun in less than a minute.
Good to Know: An anti-humidity product can slow moisture from entering the hair, but it can’t make a style weatherproof. A little movement or texture is normal. Judge the style by whether its main shape survives, not by whether every baby hair remains flat.