The alarm didn’t fail—you just pressed snooze one too many times. Now you need to get dressed, find your bag, and look awake without spending 20 minutes blending foundation. This 5-minute back-to-school makeup routine for a fresh natural look focuses on the small areas that make the biggest visual difference.
You won’t need contour, elaborate eyeshadow, or a full-coverage base. The goal is even-looking skin, a little healthy color, defined features, and makeup that won’t feel heavy by lunchtime. Once you know your products, the routine genuinely fits into five minutes.
A five-minute school makeup routine should include sunscreen, targeted concealer, cream blush, brow gel, mascara, and tinted lip balm. Apply thin layers only where needed, use fingers for fast blending, and set oily areas rather than powdering your entire face. The result looks fresh, natural, and appropriate for a full school day.
What You Need for This 5-Minute Back-to-School Makeup Routine
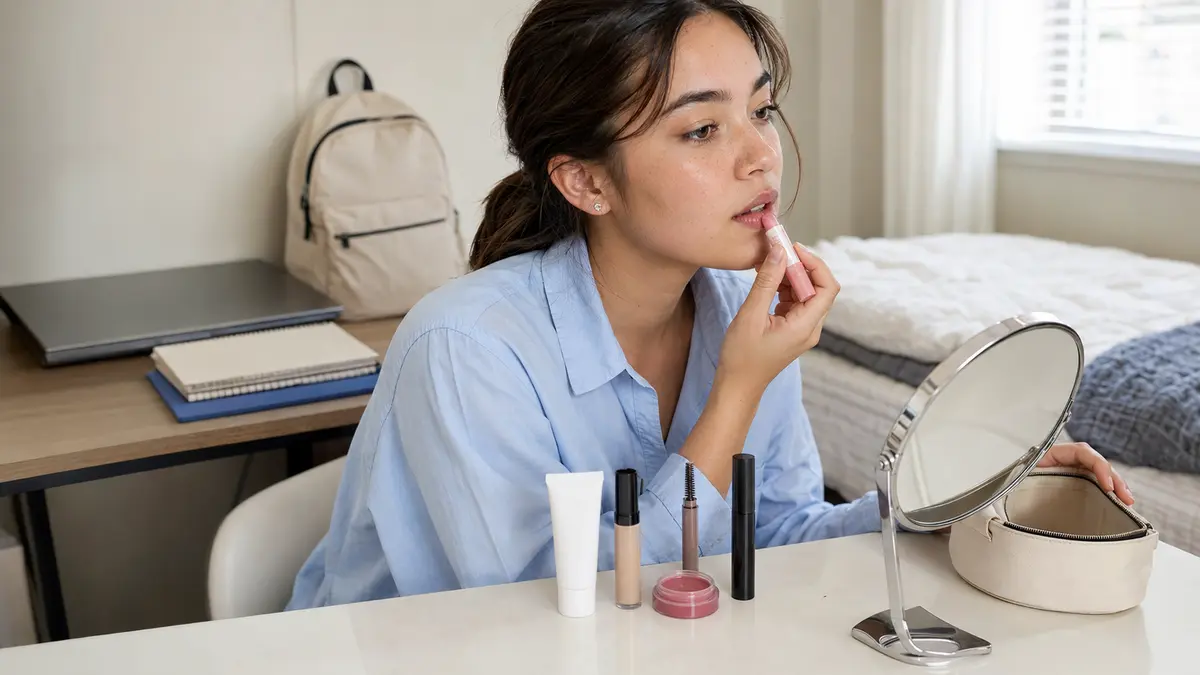
Keep the routine to six reliable products. More choices create more decisions, and those decisions waste time when you’re already running late.
You’ll need:
- Lightweight broad-spectrum sunscreen
- Medium-coverage concealer
- Cream or liquid blush
- Clear or tinted brow gel
- Smudge-resistant mascara
- Tinted lip balm or sheer lip color
- Optional translucent pressed powder
Choose products you can blend without special brushes. A concealer that spreads easily, a cream blush that doesn’t set instantly, and a brow gel with a small wand are much faster than products requiring careful application.
Keep everything together in one small makeup bag. After testing plenty of “quick” routines, I’ve found that searching through drawers can take longer than applying the makeup itself.
The 5-Minute Back-to-School Makeup Routine, Step by Step
Step 1: Apply Sunscreen Without Creating a Slippery Base
Time: 45 seconds
Apply your regular amount of broad-spectrum sunscreen to clean skin. Choose a lightweight lotion or gel-cream that settles without leaving a greasy film. Sunscreen protects your skin from everyday UV exposure, including the time spent walking, commuting, or sitting near classroom windows.
Don’t count on the SPF in a skin tint unless you’re applying enough to achieve the labeled protection. Most people use makeup in a much thinner layer than sunscreen testing requires. A separate sunscreen gives you more dependable coverage.
If the surface still feels wet, press your palms gently over your face for a few seconds. Applying concealer directly over slippery skincare can cause it to separate because the layers move instead of gripping one another.
Pro Tip: Apply sunscreen before getting dressed, then do your hair or pack your bag. That short pause lets the formula settle without adding time to your morning.
Step 2: Spot-Conceal Instead of Covering Your Whole Face
Time: 60 seconds
Dot concealer beneath the inner corners of your eyes, around the nose, and directly over any spots you want to soften. These areas often hold redness or shadow, so correcting them can make your whole complexion appear more even.
Leave acne marks or dark spots dotted with concealer for 10 to 15 seconds before blending. That brief pause allows some of the volatile ingredients to evaporate, giving you better coverage without piling on a second layer. Blend the edges with a clean fingertip while leaving most of the pigment over the mark.
Use an undertone that closely matches your skin for blemishes. A noticeably lighter concealer can highlight raised texture, even when it successfully covers the redness. Under the eyes, going half a shade lighter is enough; anything brighter may look obvious in daylight.
I used to spread concealer across my entire under-eye area. It looked smooth at 7 a.m. but gathered in every fine line by the first coffee break. Keeping it mainly at the inner corner looks fresher and wears better.
Step 3: Tap Blush Where Your Face Naturally Flushes
Time: 40 seconds
Place one small dot of cream or liquid blush on each cheek, then tap upward toward the temples. Start with less than you think you need. Highly pigmented formulas can turn a quick routine into a five-minute repair job.
Cream blush works well here because it blends with fingers and adds color without creating another powder layer. Apply it before setting your concealer so the textures can blend together. Trying to rub a creamy product over powder often creates patches.
Muted peach, soft rose, berry, and warm terracotta can all look natural when their depth suits your complexion. The right shade should resemble your skin after a brisk walk rather than sit on top like a separate stripe.
Good to Know: If your blush disappears quickly, don’t automatically add more. Tap a tiny amount of translucent powder over it, then add one final sheer layer of blush. The powder creates a little grip between the cream layers.
Step 4: Brush Brows Up and Slightly Outward
Time: 35 seconds
Run clear or tinted brow gel through the hairs using short upward-and-outward strokes. Concentrate tinted gel through sparse areas rather than coating every hair heavily. This defines your face without the time or precision needed for a pencil.
Wipe extra product from the wand before starting. An overloaded brush deposits blobs on the skin, especially near the fuller inner brow. If your brows are naturally dense, clear gel may be all you need.
For very sparse brows, use a fine pencil to add two or three hairlike marks where the gaps are most noticeable. Don’t try to redraw the entire shape during a rushed routine; the result usually looks harder than intended.
Step 5: Use One Controlled Coat of Mascara
Time: 45 seconds
Curl your lashes first if they point downward, then apply one thin coat of smudge-resistant mascara. Wiggle the wand lightly at the roots and pull it through the tips. Root definition makes the lash line appear fuller without eyeliner.
Before application, scrape excess mascara against the tube opening. A cleaner wand separates the lashes faster and reduces clumps. Concentrate on the upper lashes; skipping the lower lashes also reduces the chance of smudges during a long day.
Brown or brown-black mascara creates softer definition on lighter coloring, while black provides more contrast on deeper coloring and dark lashes. Neither is automatically more natural—the best option depends on how much contrast already exists in your features.
Watch Out: Waterproof mascara can help with humidity, watery eyes, or sports, but it takes more effort to remove. For everyday wear, a tubing or smudge-resistant washable formula may give you enough staying power with less rubbing at night.
Step 6: Finish With a Tinted Balm
Time: 25 seconds
Swipe on a tinted balm, sheer lipstick, or comfortable lip stain. A color close to your natural lip tone will fade more evenly than an opaque lipstick, which matters when you don’t have time for careful touch-ups.
Tinted balm is the easiest choice for dry lips because you can reapply it without a mirror. If you prefer a stain, use a thin layer and add plain balm on top. Avoid very sticky gloss if your hair frequently catches on your lips between classes.
This final step balances the blush and makes the whole 5-minute back-to-school makeup routine for a fresh natural look feel finished rather than incomplete.
3 Fresh Natural School Makeup Looks Using the Same Routine
You don’t need three completely different makeup bags to change the finished look. Keep the same six-step routine and adjust the blush, mascara, and lip color. These small changes create a different effect without adding more time or complicated techniques.
1. Fresh Rosy School Look
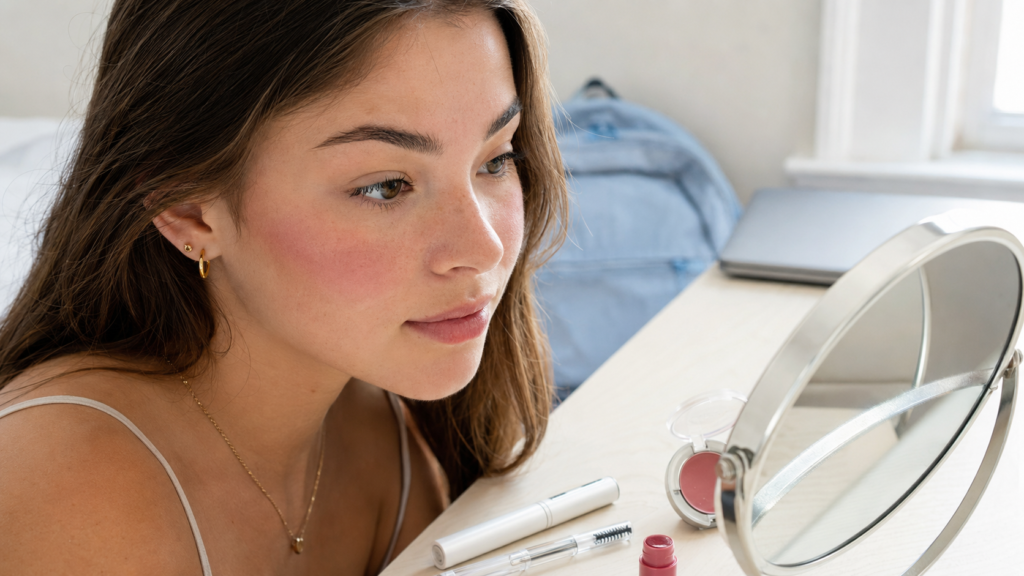
Use a soft rose cream blush, brown or brown-black mascara, clear brow gel, and a rosy tinted lip balm. This combination gives the face a gentle flush while keeping the eyes soft. Dusty rose and muted berry shades show up more naturally on deeper complexions, while soft rose works well on fair to medium skin.
2. Warm Peach Natural Look
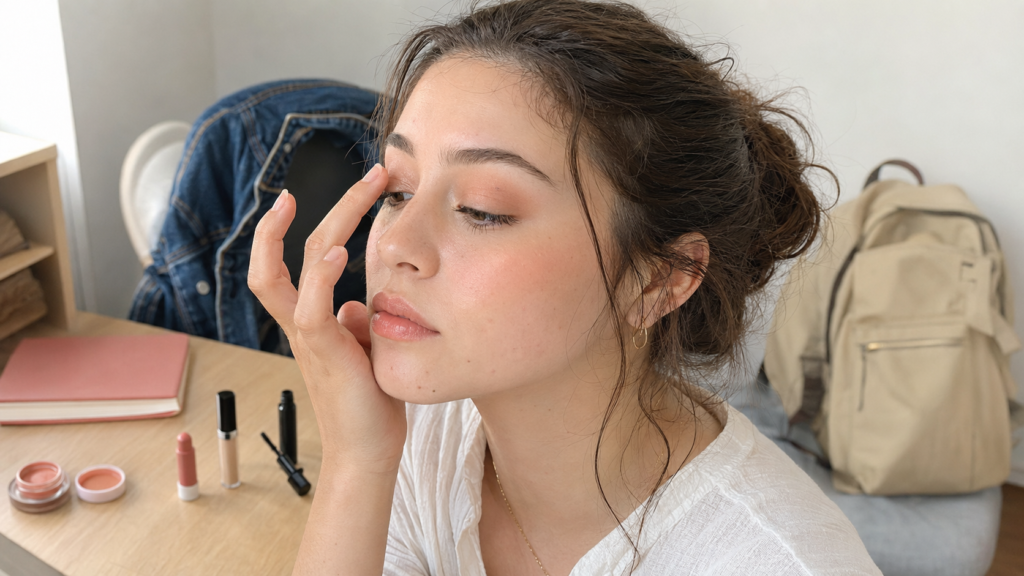
Choose peach, apricot, or soft terracotta cream blush and pair it with brown-black mascara and a warm nude lip balm. You can tap the tiny amount left on your fingertip over the eyelids for a sheer wash of matching color. Keep it very light so the eyes don’t crease or look overly made up.
3. Barely-There Polished Look
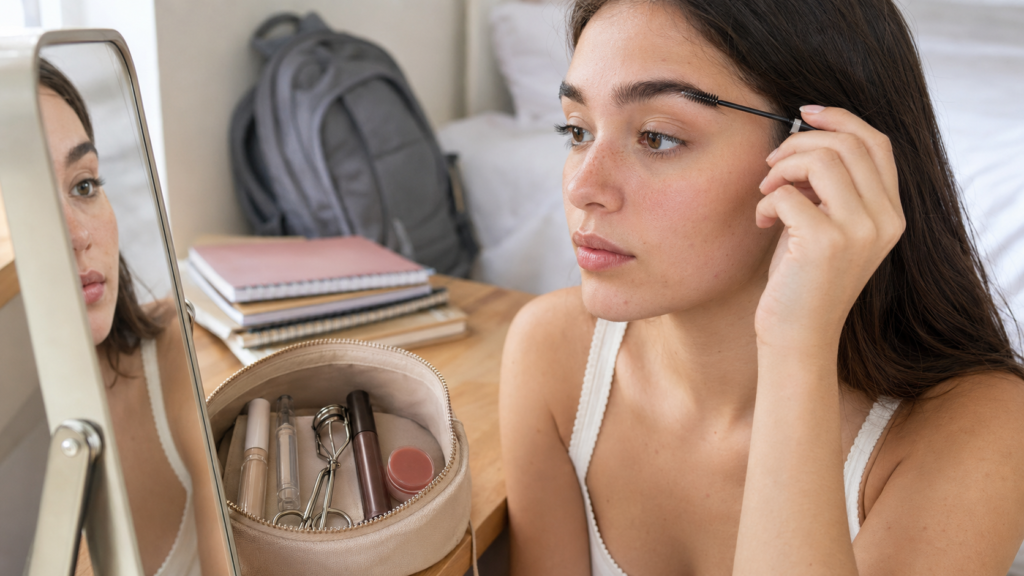
Keep blush minimal and focus on precise spot concealing, brushed brows, curled lashes, and a neutral tinted balm. This version works well for strict school settings, makeup beginners, or anyone who doesn’t want clearly visible color. A thin layer of clear brow gel adds structure without making the finished look feel formal.
Make the Routine Last Through Classes, Heat, and Oily Skin
Long wear doesn’t require powdering every inch of your face. Use a small puff or fingertip to press translucent powder beside the nose, between the brows, over the chin, and anywhere your concealer tends to crease. Keeping powder off the high points of the cheeks preserves a skin-like finish.
If you become shiny later, blot first and powder second. Powdering directly over oil creates a thicker paste of makeup, sebum, and powder that can look cakey. A tissue or blotting sheet removes the excess oil without adding another visible layer.
Dry skin needs the opposite strategy. Skip all-over powder and use a hydrating sunscreen beneath creamy makeup. If concealer catches on flaky areas, applying more rarely fixes it; tap the area with a trace of moisturizer and blend the edges again.
Setting spray is optional. It can help powder look less visible and may improve wear when the formula contains film-forming ingredients, but it can’t rescue thick, poorly matched layers. I’d choose strategic powder over a heavily sprayed face for most school mornings.
How to Adjust a Fresh Natural Look for Breakouts
A natural finish doesn’t mean leaving every blemish uncovered. It means keeping the surrounding skin light so targeted coverage doesn’t turn into a heavy mask.
Neutralize intense redness with a tiny amount of concealer that matches your skin, then tap rather than rub. Use a clean finger or small brush for active spots, and don’t return the applicator directly to the container after touching broken skin.
Makeup can reduce the appearance of a breakout, but it won’t treat the cause. Remove it gently at the end of the day, and avoid repeatedly scrubbing textured areas. If acne is painful, persistent, or leaving scars, a dermatologist can help you build an appropriate treatment plan.
Practice the Routine Once Before a Busy Morning
The first attempt may take eight minutes, and that’s normal. Product caps, unfamiliar textures, and correcting uneven blush all slow you down. Practice your 5-minute back-to-school makeup routine for a fresh natural look when you aren’t rushing, then decide which steps matter most to you.
Place the products in application order and keep the pencil sharpener, lash curler, and powder puff in the same bag. Clean tools regularly and replace mascara if its texture, performance, or smell changes.
On extremely rushed mornings, reduce the routine to sunscreen, concealer, blush, and brow gel. Those four steps create more visible impact than squeezing in complicated eye makeup and leaving the base unfinished.